Last weekend Stuart visited me for another clash of arms using our ever evolving Lion Rampant Renaissance rules. We thought for a change we would game some Italian Wars clashes rather than the English vs French which we have focused on so far. As Stuart is collecting both the French and English for the 1513 Invasion of France this means that much of his collection is as at home in early 16th Century Italy as it is in Northern France, many of the French commanders in 1513, such a Chabannes and Bayard, were of course veterans of the Italian Wars. We wanted to use the new “Sconces” that Stuart has had especially modelled for his terrain and we also wanted to try out a few rules for Pike Blocks, well small units of pike, in our games. With this is mind we opted for 2 scenarios both focusing on the Siege of Pavia which lasted from October 1524 until the famous battle in February 1525.
 |
| The field for "Battle in the Mist". The gateway at the end of the board represents the Borgo Ticino beyond which would lie the bridge over the River Ticino and Pavia itself. The counters in the top left represent the French forces in the fog and the counters to the right in the foreground represent the Imperialist Artillery Train. |
 |
| The view of the board from the other end, looking out from Borgo Ticino. After the first few moves neither side has "revealed" itself in the fog and the counters are moved into position ready for the inevitable clash of arms. This part of the game was very entertaining as we didn't know what our probing troops were going to "bump into" in the mist! |
Battle in the Mist
One of the opening moves of the siege and part of the encirclement of the city was the ferrying of Anne De Montmorency across the Ticino river to invest Pavia from the south. Under his command was a force of 3,000 Landsknechts, 2,000 Italian Light Cavalry, 1,000 Corsicans and 200 Men-at-Arms. After reaching the south side of the river his advance guard of Men-at-Arms stumbled in the November mist into an Imperialist Artillery Train and 500 Landsknechts under the Count of Sorne. They were heading for the Ticino Borgo, a village to the south of Pavia which was in front of the main bridge across the river. Montmorency’s 200 Men-At-Arms charged and dispersed the column. They captured the guns though some of the Landsknechts reached the Pavia bridge to get into the city.
We thought this provided a great scenario for a larger scale skirmish and allowed us to use some Pike Blocks as well as try out some entertaining rules to represent the troops accidentally clashing in the mist. As we wanted more balanced forces than 200 Men-at-Arms against 500 Landsknechts we added an infantry retinue to the French side to represent Montmorency’s Landsknechts and Corsicans catching up with the fight and we added some cavalry to the Imperialist side to represent the escort of the Artillery Train. The battle would be fought as a pitched battle with the fog adding an extra element of chaos. The armies were as follows with each of us taking two retinues. Stuart commanded the French and I took the Imperialists:
Montmorency’s French
Cavalry Retinue
1 Unit of Gendarmes (Anne de Montmorency as the Retinue Leader)
1 Unit of Men-at-Arms
1 Unit of Ordonnance Archers with Lance
1 Unit of Ordonnance Archers with Bows
2 Units of Stradiots
1 Unit of Mounted Crossbowmen
Infantry Retinue
1 Unit of Landsknecht Halberdiers (Retinue Leader)
2 Light Artillery Pieces (Culverins)
2 Landsknecht Pike Blocks
2 Units of Landsknecht Arquebusiers
2 Units of Corsican Crossbowmen (Aventuriers)
Imperialists
The Count of Sorne's Retinue
1 Unit of Foot Knights (The Count of Sorne as the Retinue Leader)
2 Landsknecht Pike Blocks
3 Units of Landsknecht Arquebusiers
2 Units of Landsknecht Halberdiers
Imperialist Artillery Train and Escort
2 Units of Men-at-Arms (one is the Retinue Leader)
2 Pieces of Light Artillery (Culverins)
2 Units of Mounted Crossbowmen
2 Units of Stradiots
The battlefield was set out with the Borgo Ticino at one end of the board. The French would deploy as if they were heading down from the North of Pavia with the Imperialists further down the table heading towards the Ticino river, imagined to be beyond the Borgo Ticino, and the Pavia bridge into the city. To represent the fog we decided to use our “battered” markers to represent each unit, writing down in secret which unit each marker was for. A unit was revealed either by an enemy unit attacking or shooting it once it was within 8” of the marker or by an enemy unit simply moving within 3” of it. Retinue leaders could not apply their morale bonus until revealed and all counters could "move" activate on a 6+ and moved 6” until they were revealed. If units wanted to “reveal” themselves earlier, for example cavalry units that wished to move faster than 6” or if the Retinue Leader wanted to give his leadership benefit, they could do so by declaring this when they activated. Once “revealed” units did not disappear again, this was to represent the fog clearing and battle developing.
 |
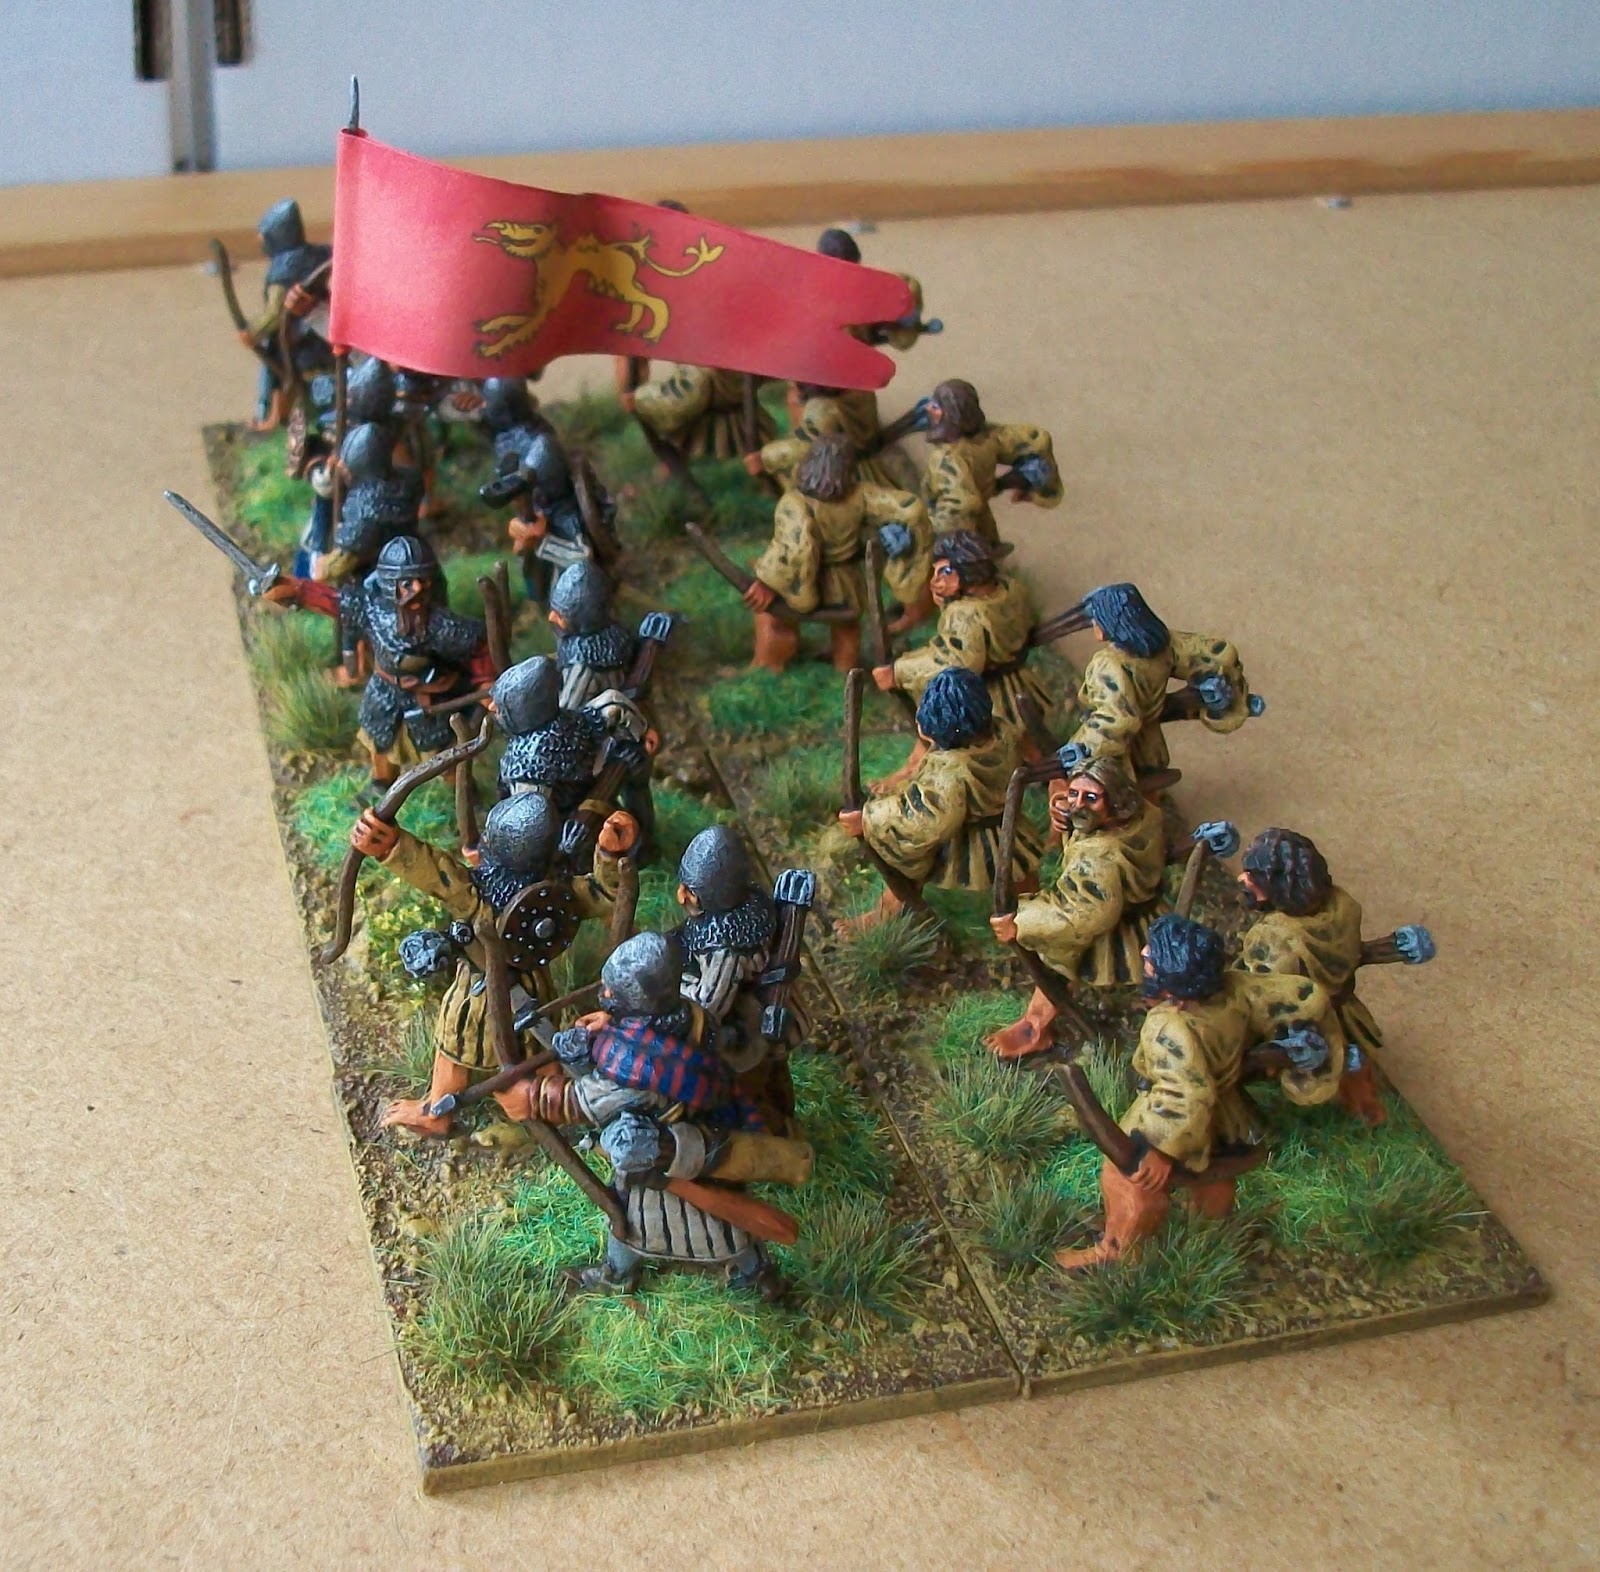
| French Ordonnance archers and Imperialist Landsknecht Arquebusiers are the first troops to clash.... |
While perhaps not a visual spectacle, at least to start with, the fog made this game very entertaining. The best way to follow my attempt at naratting the chaos that ensued is to read the captions under the photos. Initially there was much manoeuvring as both forces moved into position completely unaware of what was facing them. It was the two flanks where conflict first broke out with the French Ordonnance Mounted Archers seeing off a group of Landsknecht Arquebusiers before themselves being driven off when more of the Imperialist Landsknechts fired on them. At the other end of the battlefield, close to the Borgo Ticino, the Imperialist Stradiots and Mounted Crossbowmen who accompanied the Artillery Train rode into Montmorency himself and his gendarmes in the mist. The French Gendarmes were supported by their own Stradiots and for the entire game this area of the battlefield was the scene of a fierce cavalry fight that swung backwards and forwards as more units joined in. Having seen off some the Imperial Mounted Crossbowmen Motmorency himself was soon unhorsed in the skirmish to take no further part in the battle, however due to the fog, the rest of his retinue were unaware that he had been unhorsed.
 |
| ...and it isn't long before Montmorency himself is engaged with the Skirmishing Imperialist Light Horse at the other end of the field. In the centre Imperial Men-at-Arms are lured out of the fog by Montmorency's Corsicans. |
 |
| The first Imperialist Pike Block emerges out of the fog - only to run straight into two units of Montmorency's Landsknecht Arquebusiers. The Pike Blocks morale holds for only a few minutes as it is decimated by two concentrated volleys of shot! |
The centre of the field was where the fighting was fiercest with both of us deciding to "secretly" deploy our artillery peices, Men-at-Arms and Landsknecht Pike Blocks in the centre of our lines. One unfortunate Imperialist Pike Block stumbled straight into two units of Arquebusiers in the fog and was instantly routed as two close range volleys were fired into it! The two forces halted in diagonal lines across the board and from these positions the fight quickly developed. This was the main conflict with lots of units emerging out of the fog and being fed into this ever escalating fight. Each flank had its own skirmishes taking place. Both troops of French Ordonnance archers rode around the villa to attack the Imperial left flank where both troops were stopped by Landsknecht shot successively. On the other flank both French and Imperial Stradiots and Mounted Crossbowmen skirmished with each other for the entire game.
 |
| The second Imperialist Pike Block emerges as does the first of the Landsknecht Pike in French pay. |
 |
| The Imperialists have deployed some light guns from the Artillery Train in an attempt to clear a way to the Borgo Ticino. |
 |
| As the Imperial Guns try to clear the Landsknecht Arquebusiers in French pay out of their way, more French Cavalry emerge from the fog and attempt to drive off the Imperialist Light Horse. |
 |
| A view from the walls of the Borgo Ticino as the fighting develops on the road to Pavia. |
 |
| Imperialist and French employed Landsknechts clash in a bitter "Bad War" while behind that the French and Imperialist Men-At-Arms charge each other. |
The centre became a real "meat-grinder" with both sides pushing Landsknechts and Men-at-Arms into the fighting while the artillery of both sides sent close ranged shot into any gaps that appeared. The Imperialist Artillery train lost its retinue leader in combat with French Men-at-Arms who were themselves seen of by the Imperial Landsknecht retinue leader, the Count of Sorne. This left him exposed in the centre of the fighting and moments later the Landsknechts in French pay had knocked the Count out of the fight.
In the end the Imperialists managed to win the two skirmishes on the flanks which allowed them to push these troops back into the main fight. This turned the tide just enough to allow the Imperialists to push the remaining French forces from the field. It had been a close and very entertaining game with the fog element that we introduced creating a very different dynamic to the games we had played previously. Rather than our units avoiding enemy troops such as Men-at-Arms or Artillery Pieces they suddenly blundered into them and had to deal with the consequences!
 |
| More and more units have emerged out of the fog and a real fight is developing. |
 |
| A close up of the "Bad War". |
 |
| The Imperialist Landsknechts under the Count of Sorne try to maintain discipline and form a battle line... |
 |
| ...however the Count of Sorne himself is lured into the fighting and takes on the French Men-at-Arms, who have put their Imperial counterparts to flight, in the centre of the field. |
 |
| Sorne sees off the French horse with his loyal bodyguard of veteran landsknechts. He is left rather exposed especially as the fog is now clearing. |
 |
| The two sides have established battle lines now that most of the fog is cleared, and the Count of Sorne is particularly vulnerable. |
 |
| It's not long before the "Bad War" continues. He is attacked by some of the Landsknechts fighting for the French and brought down. |
 |
| A brief lull in the fighting as the two sides take stock. |
 |
| The scene before the Imperialists begin a final push which manages to drive the French off the field and clear the path into Pavia. Their entry to the city has come at a bitter cost though. |
 |
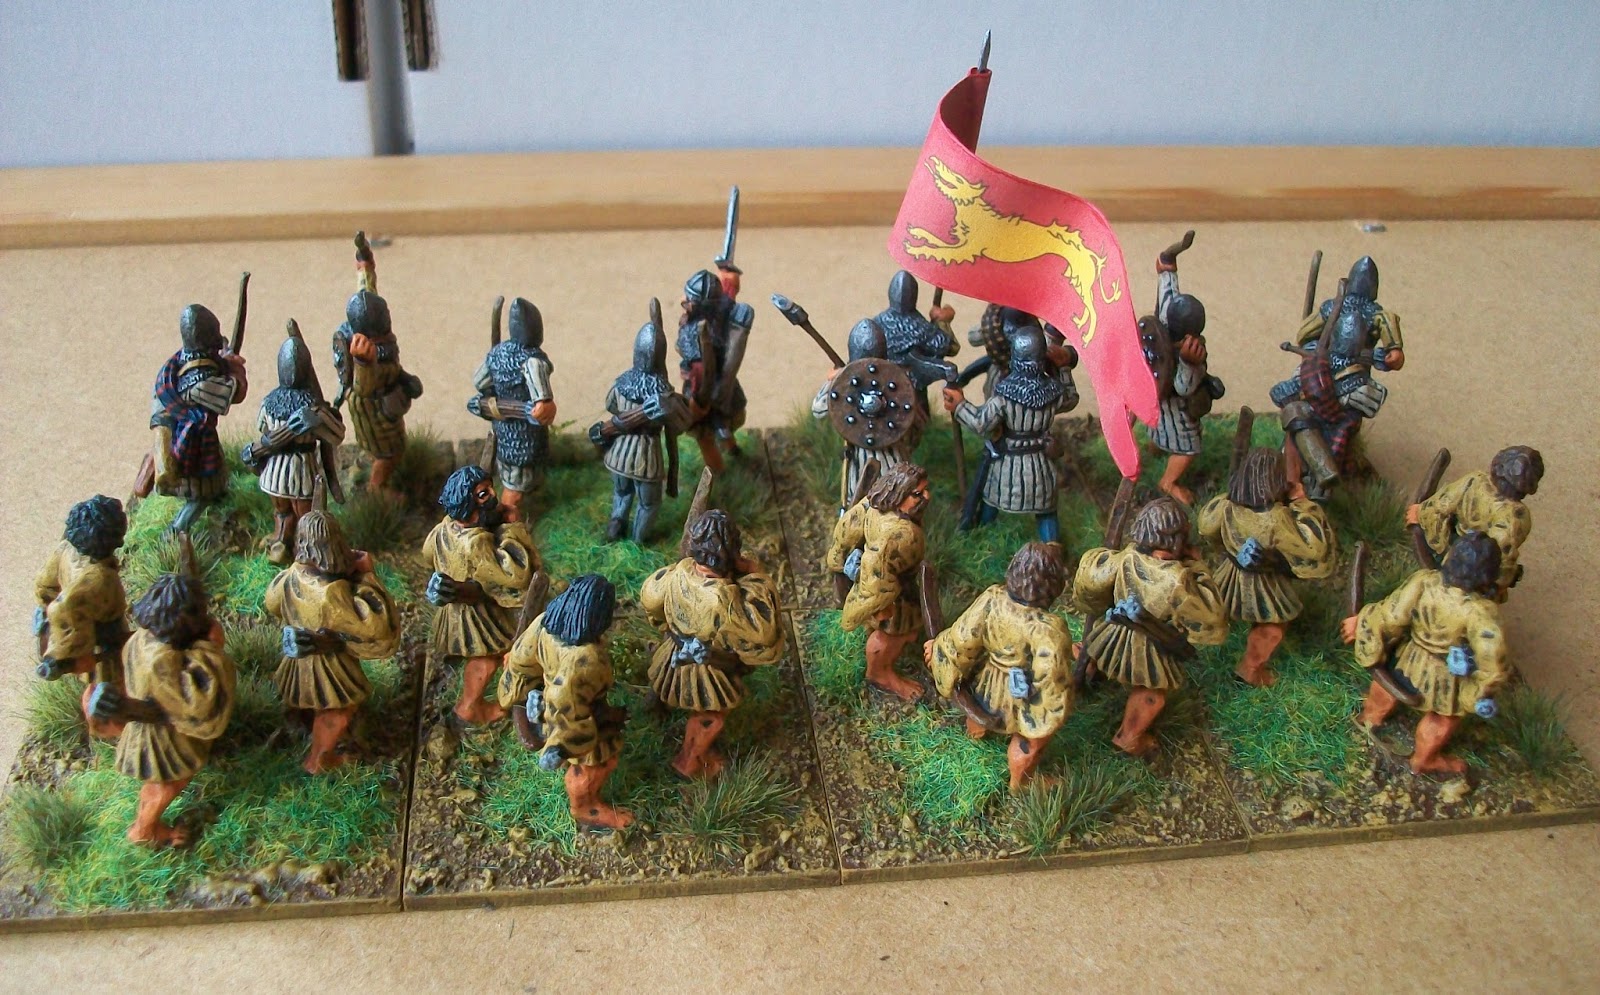
| The Walls of Northwestern Pavia, 21 November 1524. The Landsknechts under the Duke of Suffolk are in the foreground with a mixed force of French and Italians under Anne de Montmorency beyond them. |
Storm the Redoubt - The Assault of 21 November 1524
We then moved to 21 November 1524. Pavia was held by Antonio de Leyva with around 9,000 men and besieged by the King of France, Francis I, and his army. From the San Lanfranco side of Pavia, to the North West of the city, King Francis I coordinated an attack led by French Bowmen and Italian Mercenaries commanded by Marshal de Foix. A Second Wave, comprised entirely of Frenchmen, was led by Anne de Montmorency and a third wave under the Richard de la Pole, the Duke of Suffolk or the infamous “White Rose”, and Count Wolf was comprised of Landsknechts. The assault ground to a halt in the earthworks around Pavia with the French taking heavy casualties.
This was the game where we got to use Stuarts excellent new “Sconces” based on contemporary artwork. The scenario was "Storm the Redoubt" from the Pikeman’s Lament with some tweaks. The Imperialist defenders had 3 Sconces that could "Shoot" at any enemy unit within 12" once per round. This was to represent the idea that small groups of Spanish Arquebusiers with large arquebus a croc style firearms were holding each Sconce in “no-mans land” between the earthworks of the two armies. They shot on a 4+ using 6 dice. If an enemy unit could make a successful "Attack" role and move up to it then a Sconce was destroyed, this represented the idea that once an attacker could get up to the Sconce they could simply overrun the handful of troops holding it. The advantage the Sconces had was that they couldn’t be targeted by missile fire, a unit had to get to them to overwhelm the defenders inside. As the Sconces were quite a formidable extra defence we decided that the Redoubt itself would only give an additional plus one to the armour of the defenders rather than plus two.
What was particularly fitting in using the Sconces for these Pavia themed games was the fact that some of the best representations of these odd renaissance earthworks actually come from depictions of the siege of Pavia. The fist image below is from the Bernard Van Orley set of Tapestries that were made in Brussels to commemorate the Imperialist victory and the second is from the Jörg Breu woodcut of the siege made not long after the siege and battle.
 |
| Tapestry from Bernard Van Orleys Pavia commision c.1525-1531 showing desperate combat in the Sconces around Pavia. |
 |
| Detail from Jörg Breus Pavia woodcut c.1525. It shows sconces very similar to those in the tapestry above. Was this a case of artists copying each other perhaps? |
The same victory conditions applied as per the Pikeman's Lament scenario but the French attacker also had to destroy all the Sconces as well. Each side had two leaders and retinues. The Imperialists had one retinue in the Redoubt and the other emerging from the walls to represent a sally to drive off the attack. We simplified the three waves of the historic attack and gave the French a French/Italian Retinue under Montmorency, following his battle in the mist, and a Landsknecht Retinue under Suffolk. As before Stuart took Montmorency’s French and I took de Leyva’s Imperialist Garrison. The forces were as follows:
French Storming Parties
Montmorency with the French and Italians
1 Unit of Foot Knights (Anne de Montmorency as Retinue Leader)
2 Units of Franc Archer Bowmen
1 Units of Aventurier Crossbowmen
2 Picard Pike Blocks
2 Units of Italian Assault Infantry
Suffolk and his Landsknechts
1 Unit of Foot Knights (Richard de la Pole, Duke of Suffolk, the “White Rose” as Retinue Leader)
3 Units of Landsknecht Halberdiers
1 Landsknecht Pike Block
2 Units of Landsknecht Arquebusiers
Imperialist Garrison
Spanish in the Redoubt
1 Unit of Foot Knights (The Captain of the Redoubt)
2 Pieces of Light Artillery (1 Culverin and 1 Organ Gun)
2 Units of Spanish Arquebusiers
The 3 Sconces
Relief Force under Antonio de Leyva
1 Unit of Foot Knights (Antonio de Leyva Retinue Leader – not being carried in a chair yet though as he was when the garrison sallied out during the Battle of Pavia in February 1525!)
3 Units of Spanish Rodeleros
1 Unit of Landsknecht Arquebusiers
The battlefield was set out with a walled town representing the North West part of Pavia with the redoubt and Sconces in front. The two French retinues deployed in front of the Reboubt and Sconces while the Imperialists deployed one Retinue in the redoubt with the relief force under De Leyva inside Pavia. The French only needed to take the Redoubt, not to get into Pavia itself, in this scenario.
 |
| Spanish guns and arquebusiers man the earthworks defending Pavia. |
 |
| Inside Pavia's walls de Leyva readys his relief force for a sally. |
This was another great game with the battle being a tale of two halves. Suffolks Landsknechts went racing into the two Sconces in front of them and quickly overwhelmed the isolated defenders. They then turned their attention to the Redoubt itself. They were halted briefly by the arrival of the relief force under de Leyva. His Spanish infantry briefly pushed the German infantry back. On the other half of the field Montmorency's French and Italian assault was far less dramatic, the troops being extremely lack lustre in charging a fortification filled with artillery pieces and arquebusiers! Montmorency and his personal retinue had to lead the attack on the one of the Sconces before most of his troops began to move.
 |
| The Landsknechts under Suffolk are quick to the assault... |
 |
| ...and storm the outlying Sconces with relatively few casualties. |
 |
| The isolated Spanish troops holding the Sconces are no match for the attacking Landsknechts. |
 |
| The assault by Suffolks Landsknechts is in full swing... |
 |
| ...until de Leyvas sally briefly halts them. |
 |
| At the other end of the walls Montmorency and his Aventuriers are still struggling against an outlying Sconce. The Heraldic flag in the foreground is the actual Coat of Arms for Anne de Montmorency. |
 |
| The French and Italian infantry in the centre have been very reticent to start the assault, more content to see how Suffolk's Germans fare. |
 |
| One unit of Picard pikemen assault an earthwork bastion only to be sent reeling by the artillery piece inside. However Montmorency and his accompanying Men-at-Arms on foot can be seen in the disctance in front of the walls and about to enter the earthworks! |
When Montmorency's infantry finally did push forward the result was disastrous. The Culverin at the far end of the Redoubt proved lethal, annihilating a group of Picard Pike who summoned up the courage to storm the earthworks and sending shots into the supporting Italians and French that sent them fleeing. This was the best a gun has performed in any of our games so far. While the Redoubt's defenders were busy focusing on the massed infantry to their front Montmorency, who was ahead of the rest of his troops having led the attack on one of the Sconces, managed to get into the earthworks. He scattered some of the defending arquebusiers only to be despatched by the Captain of the Redoubt in a brief combat. As a side note the real Anne de Montmorency, a man who had dismounted and "led" the Swiss in the fatal assault at La Bicocca in 1522, continued his career as a soldier until 1567 when he died a few days after the Battle of Saint-Denis in the Second French War of Religion aged 74! Quite a remarkable military career I think you will agree.
Montmorency's removal from the field marked the end of the engagement on the French right flank. On the French left things had gone far more to plan. The sally by the Imperial garrison had been driven back by the unstoppable momentum of Suffolk's Germans. De Leyva himself tried to stop the advancing Landsknechts but was cut down after which the success of the assault seemed inevitable. The Captain of the Redoubt challenged the White Rose to combat, perhaps flushed by his success in defeating Montmorency only moments before or maybe hoping for a substantial reward from Henry VIII if he did manage to kill or capture this last Yorkist renegade! It was a move that may have halted the Landsknechts assault but it was not to be. De La Pole easily incapacitated the Spanish Captain and the Redoubt was taken. It had been bloody but victory had gone to the French.
Another great weekends gaming with two linked scenarios that were such fun I am keen to try them again, maybe with a few tweaks and changes for interest. I would like to game the French assault on 21 November with all three waves being represented on a larger scale, something for the future perhaps. Using Stuart's Sconces was great and I really enjoyed our chaotic fog rules. We are developing some good working rules for Pike Blocks and I think light artillery rules are working well. We also played a third game, a Gaelic Cattle Raid in Ireland, to test my rules for them. It was a brief and bloody affair for which I didn't get any photos but I will be returning to the Irish again soon enough.
 |
| The game in full swing - note Stuart's excellent themed dice! |
 |
| The Spanish surge out of the walls but are soon stopped in their tracks by the Landsknechts. |
 |
| A very slow advance begins in the centre. |
 |
| The assault in full swing! |
 |
| Montmorency has made it into the Redoubt but the Captain of the garrison inside manages to stop him getting any further. |
 |
| De Leyva himself sallies forth against the Landsknechts but is quickly brought to ground. The banner with the Castle on green with a red border is de Leyvas Coat of Arms. |
 |
| With the light fading Suffolk's Landsknechts make it into the Redoubt and defeat the Spanish Captain who attempts to challenge the White Rose himself. Victory goes to the French attackers! |
 |
| The two "Generals"; one a lowly French Aventurier in a Kettle Helm, the other a stylish Landsknecht Captain! |