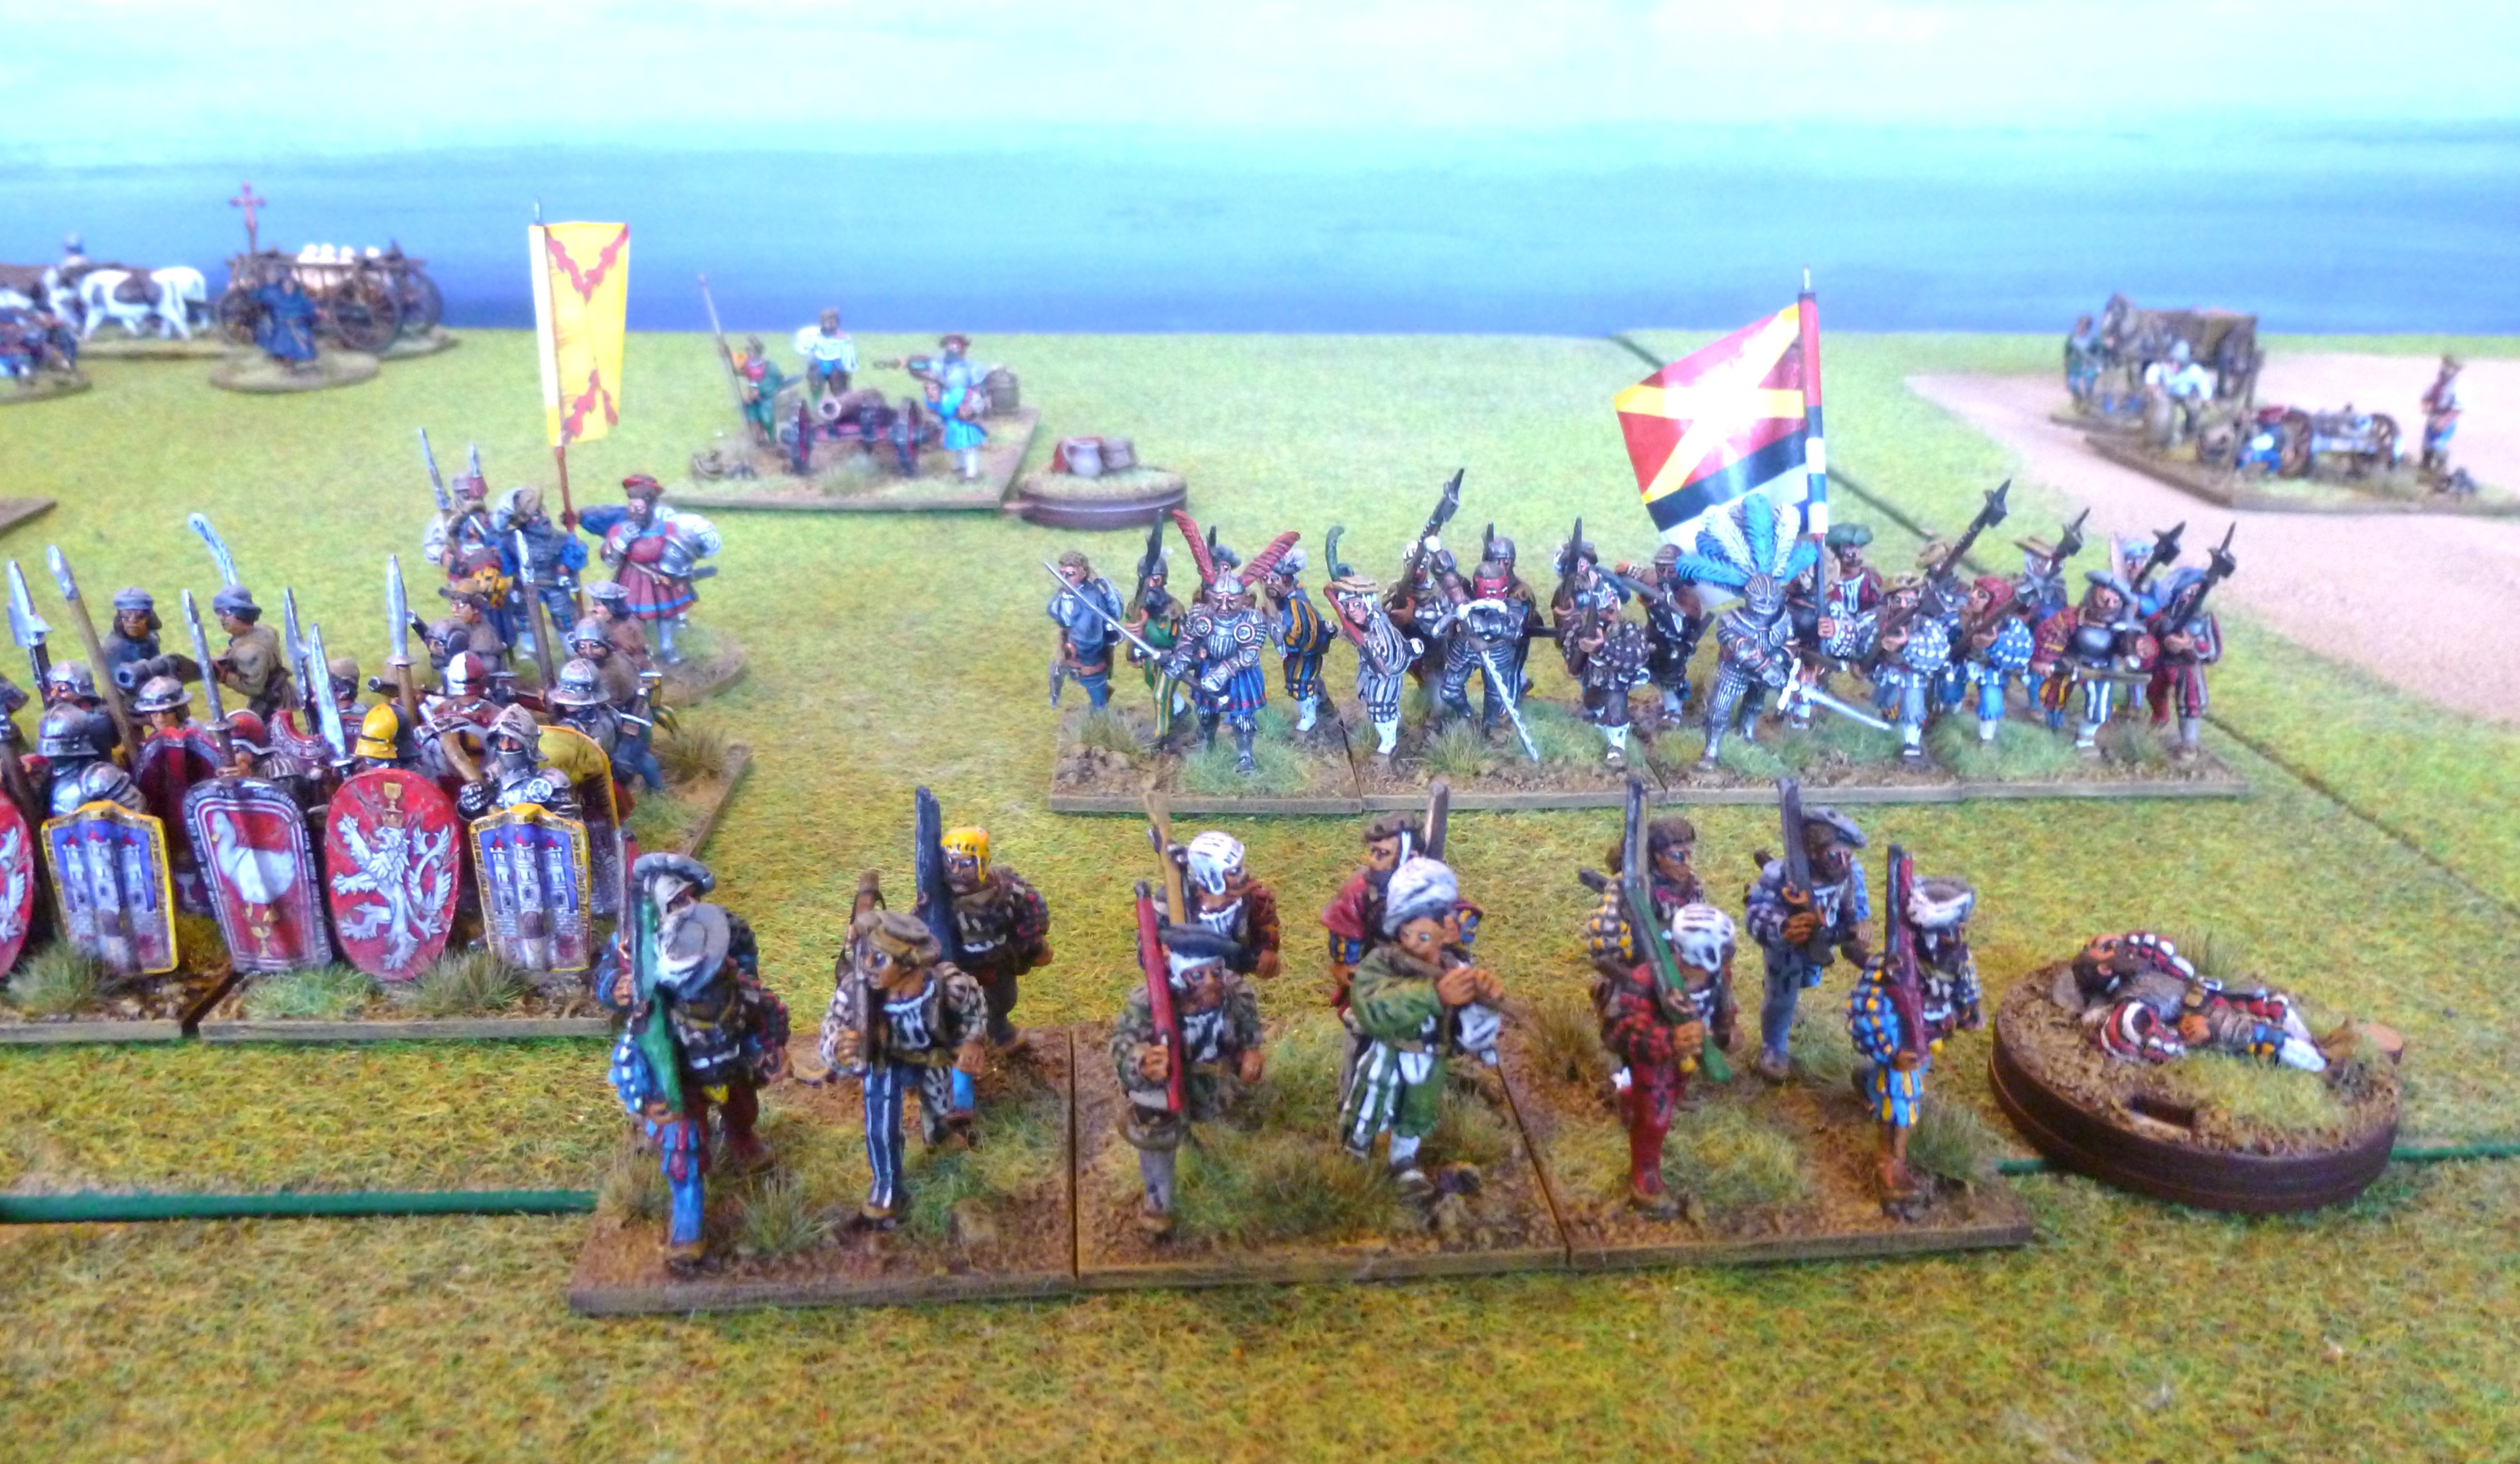
This weekend Stuart visited and keen to get our newly painted "peasant" forces on the table we played out two scenarios based around the 1497 Cornish Revolt and the Battle of Blackheath, also known as the Battle of Deptford Bridge.
Blackheath, 1497
During the 1490's Scotland's support for Perkin Warbeck, the Yorkist pretender, put Henry VII's England on a war footing. In late 1496 and early 1497 the English king levied particularly heavy extraordinary taxes. In Cornwall these taxes followed a dispute over the regulation of the region's tin mining industry and led to the outbreak of a rebellion in May 1497. Leadership of the rebels fell to Michael Joseph, a smith, or "An Gof" in Cornish, and Thomas Flamank, the son a local gentleman who had been involved in the assessment of the royal taxes. With their stated aim being to remove the King's servants who had instigated the taxes the rebels marched on Exeter before heading on to Taunton and then Wells where their cause picked up more supporters including the only member of the nobility to join them, James Tuchet, Lord Audley. Audley may have had a grudge against John Cheyne who had taken up Audley's fathers old offices and was making inroads into Audley's local sphere of influence but his motives for joining Joseph and Flamank as a leader of the rebellion remain unclear.
By the first week of June with their army now numbering perhaps as many as 15,000 men the rebel leaders sent messages from Wells to Bristol ordering the port city to surrender but the mayor replied that Bristol's walls had been manned with men and guns. Not wanting to to besiege Bristol, or having the artillery to do so, the Cornish army attempted to rely on the element of surprise and the opportunity to pick up more support and headed to London via Winchester and Guildford with Audley possibly leading a contingent via a more northerly route through Wiltshire in an attempt to raise further troops or mislead the King.
With Thomas Howard, Earl of Surrey, headed north to defend against any Scots aggression the King, who had been caught off guard, ordered Giles Lord Daubeney to defend the southern approaches to London. A force of five hundred mounted spears clashed with the rebel army at Gill Down just outside Guildford on 14 June but little seems to be known of what happened in the skirmish. Henry VII assembled an army in which Daubeney was joined by fellow Bosworth veterans John De Vere, Earl of Oxford, Sir Rys Ap Thomas and Sir Humphrey Stanley as well Henry Bourchier, Earl of Essex and Edmund de la Pole, Earl of Suffolk. Their noble retinues were reinforced by troops from London as well as local gentry and yeoman making a total force of around 25,000 men.
The rebels headed into Kent, an area from which rebellions had often sprung, but Lord's Cobham and Bergavenny organised the Kentish locals in opposition to them which led the Cornish army to camp on Blackheath, to the south east of London on 16 June. Already suffering from desertions, and knowing that they faced a large royal army it was a difficult night for the rebels whose numbers may have dwindled to around 10,000 men at this point. They had been misinformed that the Royalist forces would not attack until the 19 June so were alarmed when the following morning on the 17 June the attack came.
The royal army formed into three "battles" with the strongest under Lord Daubeney and Sir Humphrey Stanley attacking over Deptford Bridge across the Ravensbourne River. The bridge was on the main road out from the city and the rebels defended it with archers and possibly some lighter guns. The fighting was fierce as the royal troops forced their way across. As Daubeney led his men through the defenders and over the bridge he found himself surrounded and captured by the rebels only for them to release him as the other "battles" of the royal army under the Earls of Oxford, Essex and Suffolk and Sir Rhys Ap Thomas crashed into the Cornish army from either side.
The fight quickly became a rout with Thomas Flamank and Lord Audley being captured on the battlefield, Audley's captor being Sir Rhys Ap Thomas. Michael Joseph escaped only to be captured as he sought sanctuary. Flamank and Joseph were executed on 27 June and Audley on 28 June. The rebellion had been crushed but this did not dowse the flames of rebellion in the south west completely as Warbeck's landing only a few months later in September would prove: http://camisado1500s.blogspot.com/2023/11/they-determined-to-repulse-fyer-by-fier.html.
The event is covered by Hall in his usual entertaining style and it would be amiss to not include it here:
"The capitaynes of the rebelles perceavynge they coulde have no aide of the Kentish people, putting their only hope to their powre and fortitude (for surely they were men of great strength, & of no lesse force then valiaunt courage) brought them to Black hethe. iiii. myles from London, and there in a playne upon the top of an hill they ordred their battailes, eyther ready to fight with the kyng if he woulde assayle theim, or elles to assaulte and beate the citee of London: For they thought verely that the king was so afraied of their puissaunce, that he minded nothing lesse then to encountre with their armie. And therefore being enflamed with arrogancy, nothyng mystrustyng, but fermely belevynge that the victory was sure in their handes, they determyned to entre into the cytee of London and to assaute the towre, wherin the king (as thei thought) had prevely enclosed hym selfe. But kynge Henry wrought cleane contrary to their mynde and expectacion, for he never thought to geve theim battaile tyll he had theim farre from their domesticall habitacions and native region, so that they should be out of all hope of aide and comforte. And when they were with their long and tedious journey weried and tyred, and that their furye were somewhat asswaged and fell to repentaunce of their mad commocion and frantike progression, then he woulde in some place convenient for his purpose, circumvent & envyron theim to his avauntage a'nd their destruccion as he did in dede afterward.
In the meane ceason there was great feare thorough the citee & cryes were made, every man to harneys, to harneys, some ranne to the gates, other mounted on the walles, so that no parte was undefended, and continuall watche was kept by the magestrates of the citee least the rebelles being poore and nedy woulde dissende from their campe and invade the cytee and spoyle, and robbe the riches and substance of the merchants. But the kyng delivered and purged their hartes out of this feare, for after that he perceaved that the Cornishmen were all the daye ready to fight and that upon the hill, he sent streight Jhon Earle of Oxforde, Henry Burchier Erle of Essex, Edmond de la Poole earle of Suffolke, and sir Ryes app Thomas, and Sir Homfrey Stanley noble warryers with a great company of archers and horsmen to envyron the hill on the right syde & on the left, to thentent that all bywayes beyng stopped & forclosed, all hope of flight should be taken from theim : And incontinent, he being as wel encouraged with manly stomacke & desire to fight as furnished with a populous army & copie of artillery, set forward out of the cytee & encamped hym selfe in Sainct Georges felde, where he the frydaye at nyght then lodged.
On the Saturday in the mornynge, he sent the Lorde Dawbeney with a greate compaignye to set on theim early in the morenyng, which fyrst gate the bridge at Detforde Strande whiche was manfully defended by certeyne archers of the rebelles, whose arowes as is reported were in length a full yarde. While the erles set on theim on every syde, the lorde Dawbeney came into the felde with his company, & wout longe fightyng the Cornyshmen were overcome, but first they tooke the lord Dawbeney prisoner, & whether it were for feare or for hope of favoure, they let hym go at librety wont any hurt or detriment. There were slain of the rebelles whiche fought & resisted, ii. thousand men & more & take prisoners an infinite nombre, & emongest theim that black smyth & chiefe capiteins which shortely after were put to death. This Mighell Joseph, surnamed the black smyth one of the capteins of this donge hill & draffe sacked ruffians, was of such stowte stomack & haute courage, that at the same time that he was drawen on the herdle toward his death, he sayd (as men do reporte) that for this myscheuous and facinorous acte, he should have a name perpetual and a fame permanet and immortal. So (you may perceave) that desire and ambicious cupidite of vaine glorie and fame, enflameth, and encourageth aswel poore and meane persones, as the hartes of great lords and puyssaunt princes to travayle & aspire to the same. Some affirme that the kyng appoyneted to fight with the rebelles on the Monday, and anticipating the tyme by pollecie set on theim upon the Saturday before, being unprovided and in no arraye of battaile, and so by that pollecy obteyned the felde and victory."
 |
| 14 June 1497 and the Cornish army marches into Guildford |
The Skirmish at Guildford
We thought the attack on the Cornish army outside Guildford by a force of five hundred "spears" would make a great skirmish game.
As always the game was played using our adapted Lion Rampant rules. Stuart took command of the Cornish army so I was the attacking player in command of the five hundred spears. For both of the games, perhaps somewhat anachronistically, I have termed the Tudor government forces acting for the King as "Royalists".
As always the game was played using our adapted Lion Rampant rules. Stuart took command of the Cornish army so I was the attacking player in command of the five hundred spears. For both of the games, perhaps somewhat anachronistically, I have termed the Tudor government forces acting for the King as "Royalists".
Deployment
For this game three large wagons in a column were spread out along a road and were the objectives for the Royalists. The Cornish forces were deployed around the wagons just outside of Guildford (See the picture below).
The Royalist cavalry would arrive on either side of the wagon column. The Royalist player wrote down at the start of the game which units would emerge from which side of the table. The Royalists went first with the units arriving on the table via move activations. Royalist units could not attack on the turn they arrived on the table.
The Wagons
The large Wagons could be used as cover by the Cornish. Any Cornish unit in base to base contact with a wagon received +1 armour against missile attacks.
The Royalists could attempt to destroy the three large wagons if a Royalist unit was in base to base contact with one of them. On its following turn as an activation the Royalist unit could attempt to destroy the Wagon on a 4+ on a D6. As the Royalist aim was to destroy the wagons this activation took priority over a "wild charge" activation. Once destroyed a wagon could not be used as cover. A wagon could be destroyed whilst a Cornish unit was benefitting from the cover of the wagon and the Cornish unit would not be harmed.
The game would end once the three wagons were destroyed or once the Royalist forces had lost over half their strength.
 |
| A view from above the table. The three large wagons can be seen in the Cornish column. The Royalist "spears" will arrive from the two longer sides of the table. |
 |
| A view down the column of rebels as it marches. |
The Armies
The Cornish Rebels
1 Unit of Foot Knights (Lord Lord Audley - retinue leader)
1 Unit of Garrison Bill (Thomas Flamank)
2 Units of Shire Archers
4 Units of Shire Bill
The 500 "Royalist" Spears
4 Units of Demilancers ( one unit contains the retinue leader)
2 Units of King's Spears
2 Units of Mounted Archers
This was a fast game with lots of fighting but a brief write up is below. As always the captions under the photos are a good way to follow the action.
This was a fast game with lots of fighting but a brief write up is below. As always the captions under the photos are a good way to follow the action.
 |
| As the Cornish troops reach the edge of Guildford they are attacked by Royalist Demilancers. |
 |
| Royalist archers dismount and shoot into the Cornish army. |
 |
| Thomas Flamank commands the Cornish billmen as they are set upon by the a force of the King's Spears. |
As the Cornish rebels made their way into Guildford they were alarmed to hear the sounding of trumpets and thunder of hooves. The head of the column was suddenly attacked on both sides by heavily armoured English knights and gentry supported by more lightly armed demilancers. The Royalist cavalry crashed into the Cornish troops and sent the rebels reeling back in a series of sharp encounters in the streets of Guildford.
The rebel archers attempted to shoot down the horses of the attacking cavalry and prevent them from causing a rout of the entire rebel force. The Royalists sent forward dismounted groups of archers who shot back at the rebel troops. As groups of Cornishmen broke and fled the pursuing knights and gentry got carried away and charged into the main body of the rebel force only to be unhorsed and brought down by the Cornish billmen.
 |
| The fighting is fierce at the edge of the town. |
 |
| The rebel army does its best to hold off the attack by the five hundred spears sent to intercept it. |
 |
| The Cornish close ranks and form a defensive position around the wagons. |
 |
| The front wagon is captured and destroyed by the mounted archers... |
 |
| ...whilst a troop of demilancers pounce on the rear wagon and capture it... |
 |
| ...but the rebel army holds firm and defends the final wagon, forcing the mounted Royalist's back with heavy casualties being suffered by the attacking cavalry. |
At the head of the Cornish convoy Lord Audley and Thomas Flamank rallied the fleeing rebels and formed a defensive position around the lead wagon. The rebels were unable to prevent this wagon from being captured by the Royalist mounted archers. Similarly at the back of the column a unit of demilancers raced through the fields and fell upon the rear wagon, quickly destroying it. It looked as if the whole Cornish force might be overwhelmed but the rebels held firm. Having suffered heavy casualties the five hundred Royalist spears were forced to retreat. It may have lost a few supplies but the Cornish army would be able to continue its march on London.
 |
| James Tuchet, Lord Audley, commands the Cornish army atop Blackheath. |
The Battle of Blackheath (or Deptford Bridge) 1497
For this game we wanted to represent the crossing of Deptford Bridge by Lord Daubeney and the fighting on Blackheath. As with the first game we used our adapted Lion Rampant rules. We rolled a dice to randomly decide who would command which force and the result was that Stuart took control of the Cornish army and I played the Royalists.
Deployment
Each army in this game was made up of two Lion Rampant "retinues".
Each army in this game was made up of two Lion Rampant "retinues".
At the start of the game Lord Daubeney's retinue was positioned on one side of Ravensbourne River with Thomas Flamank in command of a Cornish retinue defending Deptford Bridge on the opposite bank. Further up the table, on Blackheath, the retinue of Michael Joseph and Lord Audley was positioned (see the two images below for the initial set up).
The other Royalist retinue under the Earls of Oxford and Essex with Sir Rhys Ap Thomas, started off table and would arrive on both sides of Blackheath.
Lord Daubeney's retinue took the first turn with the two Cornish retinues going next. Once Lord Daubeney had a unit across the bridge the following turn the Earl of Oxford's retinue would start to arrive. Before the game began the Royalist player wrote down which of the units in the Earl of Oxford's retinue would arrive from which side of Blackheath.
When the Units from the Earl of Oxford's retinue arrived the Earl of Oxford and the units containing the Earl of Essex and Sir Rhys Ap Thomas had to be the first to arrive on the table. Oxford's units could only arrive via move activations on their first turn.
The Ravensbourne River was only crossable at the bridge.
"whose arowes as is reported were in length a full yarde"
So the game did not become an archery duel for it's entirety every time a longbow unit shot, if it was rolling 12 dice and 5 or more 1s or 2s were rolled then the unit was considered out of arrows and could not shoot anymore. If 6 dice were rolled (because the unit was at half strength) and 3 or more 1s or 2s were rolled then the unit ran out of arrows. An arrow marker was placed by the unit to denote the fact it could no longer shoot.
Victory Conditions
The Royalist army would win if Lord Audley and Thomas Flamank (the retinue leaders) were killed or routed and the unit containing Michael Joseph was destroyed or routed.
The Cornish rebels would win if Lord Daubeney and the Earl of Oxford (the retinue leaders) were killed and the units containing Sir Rhys Ap Thomas and the Earl of Essex were destroyed or routed.
 |
| Thomas Flamank guards Deptford Bridge with a contingent of archers and billmen accompanied by the few light artillery pieces the rebel army has managed to collect on its march to London. On the other side of the Ravensbourne River Lord Daubeney and Sir Humphrey Stanley prepare to storm the bridge. |
 |
| A view above the table. To the right of the photo is the Royalist force that will contend the bridge commanded by Lord Daubeney and Sir Humphrey Stanley. Opposing them are the rebel archers and guns defending Deptford Bridge under Thomas Flamank. To the left of the photo is the rebel camp and the rest of the Cornish army under Lord Audley and Michael Joseph, the smith. The rest of the Royalist force will enter from both sides of the longer table edges once a unit from Daubeney's retinue has successfully crossed Deptford Bridge. |
 |
| The Royalist force under Lord Daubeney prepares to storm the bridge and cross the Ravensbourne River onto Blackheath. |
 |
| The attack will be spearheaded by an elite force of Henry VII's Yeomen of the Guard. Members of the guard saw active service at Blackheath. One member, Thomas Greenway, was awarded two tenements in the parish of St. Nicholas Fleshshambles in London in August 1497 for his service in the battle. |
 |
| On either side of Deptford Bridge the opposing armies prepare for battle. |
The Armies
The Cornish Rebels
Thomas Flamank and the rebels defending Deptford Bridge
1 Unit of Garrison Bill (Thomas Flamank - retinue leader)
2 Culverins
1 Unit of Garrison Archers
2 Units of Shire Archers
4 Units of Shire Bill
James Tuchet, Lord Audley and Michael Joseph, An Gof
1 Unit of Foot Knights (Lord Audley - retinue leader)
1 Unit of Garrison Bill (Michael Joseph, An Gof)
2 Units of Garrison Bill (Audley's retainers)
1 Unit of Garrison Archers
2 Units of Shire Archers
3 Units of Shire Bill
The "Royalist" Army
Giles Lord Daubeney's "Battle"
1 Unit of Foot Knights (Giles Lord Daubeney - retinue leader)
1 Unit of King's Spears (Sir Humphrey Stanley)
2 Units of Demilancers
1 Unit of Yeomen of the Guard (with handguns)
3 Units of Shire Archers
2 Units of Garrison Bill 12 points
John De Vere, Earl of Oxford's "Battle"
1 Unit of Foot Knights (John De Vere, Earl of Oxford - retinue leader)
1 Unit of King's Spears (Henry Bourchier, Earl of Essex)
1 Unit of Demilancers (Sir Rhys Ap Thomas)
3 Units of Shire Archers
2 Units of Shire Bill
2 Units of Mounted Archers
A brief write up follows with the picture captions also describing events.
 |
| The Royalist attack begins and the Yeomen of the Guard attempt to force their way across the bridge. |
 |
| A bloody melee takes place as the Royalists storm across Deptford Bridge and the Yeomen of the Guard suffer heavy losses. |
 |
| As the Royalists force their way over the bridge the rebels open fire with their light guns... |
 |
| ...the rebel gunners work quickly... |
 |
| ...and several blasts of hail shot are sent into the attacking Royalists. |
 |
| With their infantry having cleared a bloody path the King's Spears and demilancers charge across the bridge. |
 |
| The defending Cornish troops are driven back in the fighting. |
 |
| More cavalry from Daubeney's retinue charge across the river. |
With drums beating Lord Daubeney ordered his men over Deptford Bridge promising them they would be richly rewarded for their valour by the King. Daubeney had told them the rebels would simply flee once a determined attack was made but this proved untrue. A force of Yeomen of the Guard were the first to attempt to force a crossing but they suffered terrible casualties when they were met with a storm of arrows followed by a wall of billhooks.
Behind the Yeomen of the Guard came Daubeney's billmen. Supported by their archers on the other side of the Ravensbourne River they finally managed to gain a foot hold and drive the Cornish troops back. Their success was short lived and they were horrified to discover that the rebels had positioned some light guns at the foot of the slopes leading up to Blackheath. The rebel gunners sent blasts of close range hail shot into the advancing Royalists causing yet more heavy casualties.
 |
| A view from Deptford Bridge looking onto Blackheath. Fighting is taking place on the other side of Ravensbourne River and Royalist reinforcements are arriving. To the centre right the Earl of Oxford, Sir Rhys Ap Thomas and the Earl of Essex can all be seen entering the field whilst opposite them, on the left, a force of mounted archers has dismounted and is shooting at the rebels defending the bridge. |
 |
| The Earl of Essex and Sir Rhys Ap Thomas lead their contingents of cavalry onto Blackheath. |
 |
| On Blackheath Lord Audley and Michael Joseph are yet to commit their forces. They watch the fighting taking place below them around the bridge. |
 |
| Thomas Flamank and his men put up a brave defence as Lord Daubeney's forces storm across Deptford Bridge... |
 |
| ...Flamank is surrounded on all sides and slain in the fighting. |
 |
| With the bridge now uncontested Lord Daubeney leads the rest of his men across. |
 |
| A view of the table from above. Around the bridge on the right the last few units of rebels from the force that defended the bridge are attempting to fight off Lord Daubeney's men. At the top of the photo more Royalist troops have arrived under John De Vere, Earl of Oxford. In the bottom left corner the rebels under Lord Audley and Michael Joseph are in good order and as yet uncommitted to the engagement. In the bottom centre of the photo dismounted Royalist archers have taken up position around the building. |
 |
| A veteran of the battles of Barnet, Bosworth and Stoke, John De Vere, Earl of Oxford, leads a force of Royalist billmen and archers onto Blackheath. |
So far the fighting had centred around Deptford Bridge. Lord Audley and Michael Joseph remained in a strong defensive position on the top of the heath and had not been tempted down to the river in support of Thomas Flamank and the men defending the crossing. Flamank's men had fought bravely but as units of Royalist cavalry rode over the bridge they began to flee. Some attempted to get back onto the heath and join with the main body of the rebel army but their path was blocked when a force of Royalist mounted archers arrived. The archers dismounted and sent a rain of arrows into the Cornishmen still fighting along the river. Flamank was killed in the fighting, refusing to surrender to the King's troops.
Further up on Blackheath the remaining two "Battles" of the Royalist army arrived under the Earl of Oxford,Sir Rhys Ap Thomas and the Earl of Essex "noble warryers with a great company of archers and horsmen to envyron the hill on the right syde & on the left". Their banners fluttering in the breeze they began to form up against the rest of the Cornish army which had held firm under the leadership of Audley and Joseph.
 |
| De Vere's troops form up against the rebel army on the heath. |
 |
| Lord Audley and Michael Joseph have seen what happened to their comrades around the bridge and prepare to sell their lives dearly. |
 |
| A force of demilancers charges into Lord Audley and attempts to cut him down in the hope that this will cause a general rout of the Cornish army. The cavalry are unsuccessful and Lord Audley drives them back. |
 |
| The battle lines form as the fight moves from Deptford Bridge and onto Blackheath. |
 |
| With shouts of "Traitor!" Giles Lord Daubeney engages James Tuchet, Lord Audley in a one on one duel. Lord Daubeney is slain and the Cornish army cheers. |
 |
| The fighting on the heath continues as the Earl of Oxford leads the Royalist infantry against the rebel army. |
 |
| Cavalry and infantry from the retinue of Henry Bourchier, Earl of Essex, support the Earl of Oxford as the fighting continues. |
 |
| John De Vere, Earl of Oxford is brought down in a clash with some of Audley's well armed retainers. |
There was a brief lull in the fighting as Deptford Bridge was secured by Daubeney's "Battle" which marched up onto the heath and joined with Rhys Ap Thomas, Oxford and Essex as they prepared to crush the remaining rebels. To the Royalists surprise Lord Audley ordered the attack as the Royalists were still forming up and battle was rejoined on the heath. A strikeforce of demilancers attempted to charge down Lord Audley but his retainers successfully drove them back. Then in the chaos of the melee Lord Daubeney challenged Lord Audley and the two dueled until a blow from Audley's poleaxe felled Daubeney, an event which heartened the rebel army.
As the fighting continued on the heath it was John De Vere, the Earl of Oxford who fell next. The veteran of Barnet, Bosworth and Stoke was finally defeated by a rebel army! Sensing victory the Cornish forces pushed forward and within moments both Sir Rhys Ap Thomas and Henry Bourchier, Earl of Essex had also been unhorsed and taken by the rebels. With the loss of their leaders the Royalist army broke and fled the battlefield. The Cornish rebels had defeated Henry VII's army just miles from London!
 |
| As Oxford's men fall back, the Earl of Essex leads a charge against the Cornish army. |
 |
| In the chaotic melee Sir Rhys Ap Thomas is the next Royalist leader to be unhorsed. |
 |
| The Earl of Essex charges Michael Joseph, the smith, in an attempt to bring down one of the rebel leaders, but it is Essex who is defeated and captured. With no captains of note left the Royalist army flees and the Cornishmen have won the day! |
We really enjoyed these two games. Blackheath was a real epic, essentially two battles in one with a resounding victory for the Cornish rebels! The first part was the "Battle of Deptford Bridge" as Daubeney pushed across the river in the face of fierce resistance and the second was the fighting on the heath, the "Battle of Blackheath". In this second part, to my dismay, all of the Royalist leaders were defeated. Stuart's plan to not commit any of Audley or Joseph's retinue to the fight around the bridge and instead hold them in a position where the later arriving Royalists could not surround and overwhelm them proved to be really effective. In fact when Audley and Joseph's retinue did start to move it quickly overwhelmed my Royalists who were spread out all over the battlefield.
The archery ammunition rules worked really well and forced us to play differently. Had we not introduced the ammunition rules for this game it would have been completely dominated by archery as we would have both attempted to keep our forces back and win the inevitable archery duel. The archery did still play an important part, as did the light rebel guns, but it was not as dominant as it would have been. The chance we could run out of arrows made us both more cautious about when we used our archers and which targets we chose. I am sure we will be using these extra rules again.