Tuesday, 28 March 2023

Linlithgow Bridge, 1526


Last weekend Stuart visited and once again we delved into the politics of 1520s Scotland with the struggle for control of the young King James V. We played a refight of the Battle of Linlithgow Bridge to complete a series of games we started in December. As such this post forms a second part to the games covered here: http://camisado1500s.blogspot.com/2022/12/cleanse-causeway-edinburgh-1520.html.

Linlithgow Bridge, 1526

Following the failed attempt to rescue King James V from his step father, Archibald Douglas, Earl of Angus, at Melrose in July of 1526 , John Stewart, Earl of Lennox, left the Royal court for Stirling Castle. The following month at the head of 200 horsemen he attempted to rescue James from Edinburgh but the arrangements for the King's escape were discovered and the plot was foiled. With the failure of these two attempts Lennox decided his only option was to raise a much larger force in an attempt to free the King. The remaining borderers who had attempted to rescue James at Melrose continued to support Lennox whilst he rallied men from his own vassals and allies in the west. Support from James Beaton, the Chancellor, brought in lairds from Fife and Forfarshire. The Cunninghams, under the Earl of Glencairn, rallied to Lennox along with Lords Lindsay of Byres, Ross of Halkhead, Semple, Lyle and Avondale. Whilst the Earls of Cassillis and Argyll may have been favourable to Lennox's cause modern sources seem to differ on whether they provided any military support. Ken Edmond in his "The Minority of James V", argues Cassillis kept his support tacit having no charges pursued against him after the battle whilst Argyll was only mentioned by later sources as having been a Lennox supporter. 

Sources also differ on the numbers both Lennox and Angus were able to raise for the subsequent clash. Ken Edmond argues that the numbers were probably around 3,000 a side as Angus stated Lennox raised 3,000 men whilst he only took 300 to the field, although this is obvously a case of Angus playing down his own forces. Jonathan Cooper in "The Heart and the Rose, the Battle of Linlithgow Bridge" relies on the slightly later chroniclers, Pitscottie and Drummond, to suggest Lennox rallied between 9,000 to 12,000 men whilst Arran mustered around 2,000-3,000 and Angus, supported by the Homes and Kerrs, brought a further 2,000-3,000 to the field. Whatever the actual numbers it does seem that Lennox was able to raise a larger force with which he headed from Stirling towards Edinburgh.

On the 4th September 1526 as Lennox's forces marched towards Edinburgh, James Hamilton, 1st Earl of Arran, now allied to Douglas despite their fierce clash in Edinburgh some 6 years before, fortified a bridge across the river Avon, a couple of miles from the town of Linlithgow. Arran's main force deployed on Pace Hill (apparently so named after "peace" was made there at the end of the battle) giving his troops a good view of the routes into the town. Jonathan Cooper's above mentioned book on the battle gives various theories on how events unfolded. It seems the most likely course of the battle, and the one Cooper includes in the Osprey volume on Scottish Renaissance Armies, is that seeing the route over the bridge being blocked by the Hamiltons, Lennox left a smaller force and some of his guns on the other side of the river before marching upstream to a ford at Manuel Convent. Here Lennox's men crossed the Avon and formed up into two battles, one being led by Lennox and the other by Cuthert Cunningham, Earl of Glencairn. The two earls led their respective divisions up hill against the Hamilton forces, their forces breaking when Angus arrived on the field supported by the warlike borderers the Kerrs and Homes.

Whilst Glencairn was wounded in the fighting Lennox was killed on the field under circumstances which fascinated later chroniclers. It seems that Lennox was either wounded and captured or was forced to surrender before possibly being murdered by Arran's son, Sir James Hamilton of Finnart. Hamilton of Finnart was one of the hot heads who had sparked the violence in Edinburgh during the "Cleanse the Causeway" affray. The tale of his murder of Lennox spread soon after the battle to such an extent that 5 years later when Matthew, son of the dead earl, and the Hamiltons, now under the 2nd Earl of Arran, made a contract of amity, in a bid to bury the hatchet between the families, Hamilton of Finnart was specifically required to deny that he had personally been responsible for the death of Lennox.

Although Angus had demonstrated that he could not be dislodged militarily from power the battle also taught the young King James V a valuable lesson. He realised he would have to make his own plans to escape from Angus and the Douglas.  Circumstance allowed this in 1528, with James managing to escape from Edinburgh and reach Stirling. Angus was slow in his attempt to recapture the King allowing James to rally support and force Angus into exile after a siege of the Douglas fortress of Tantallon.
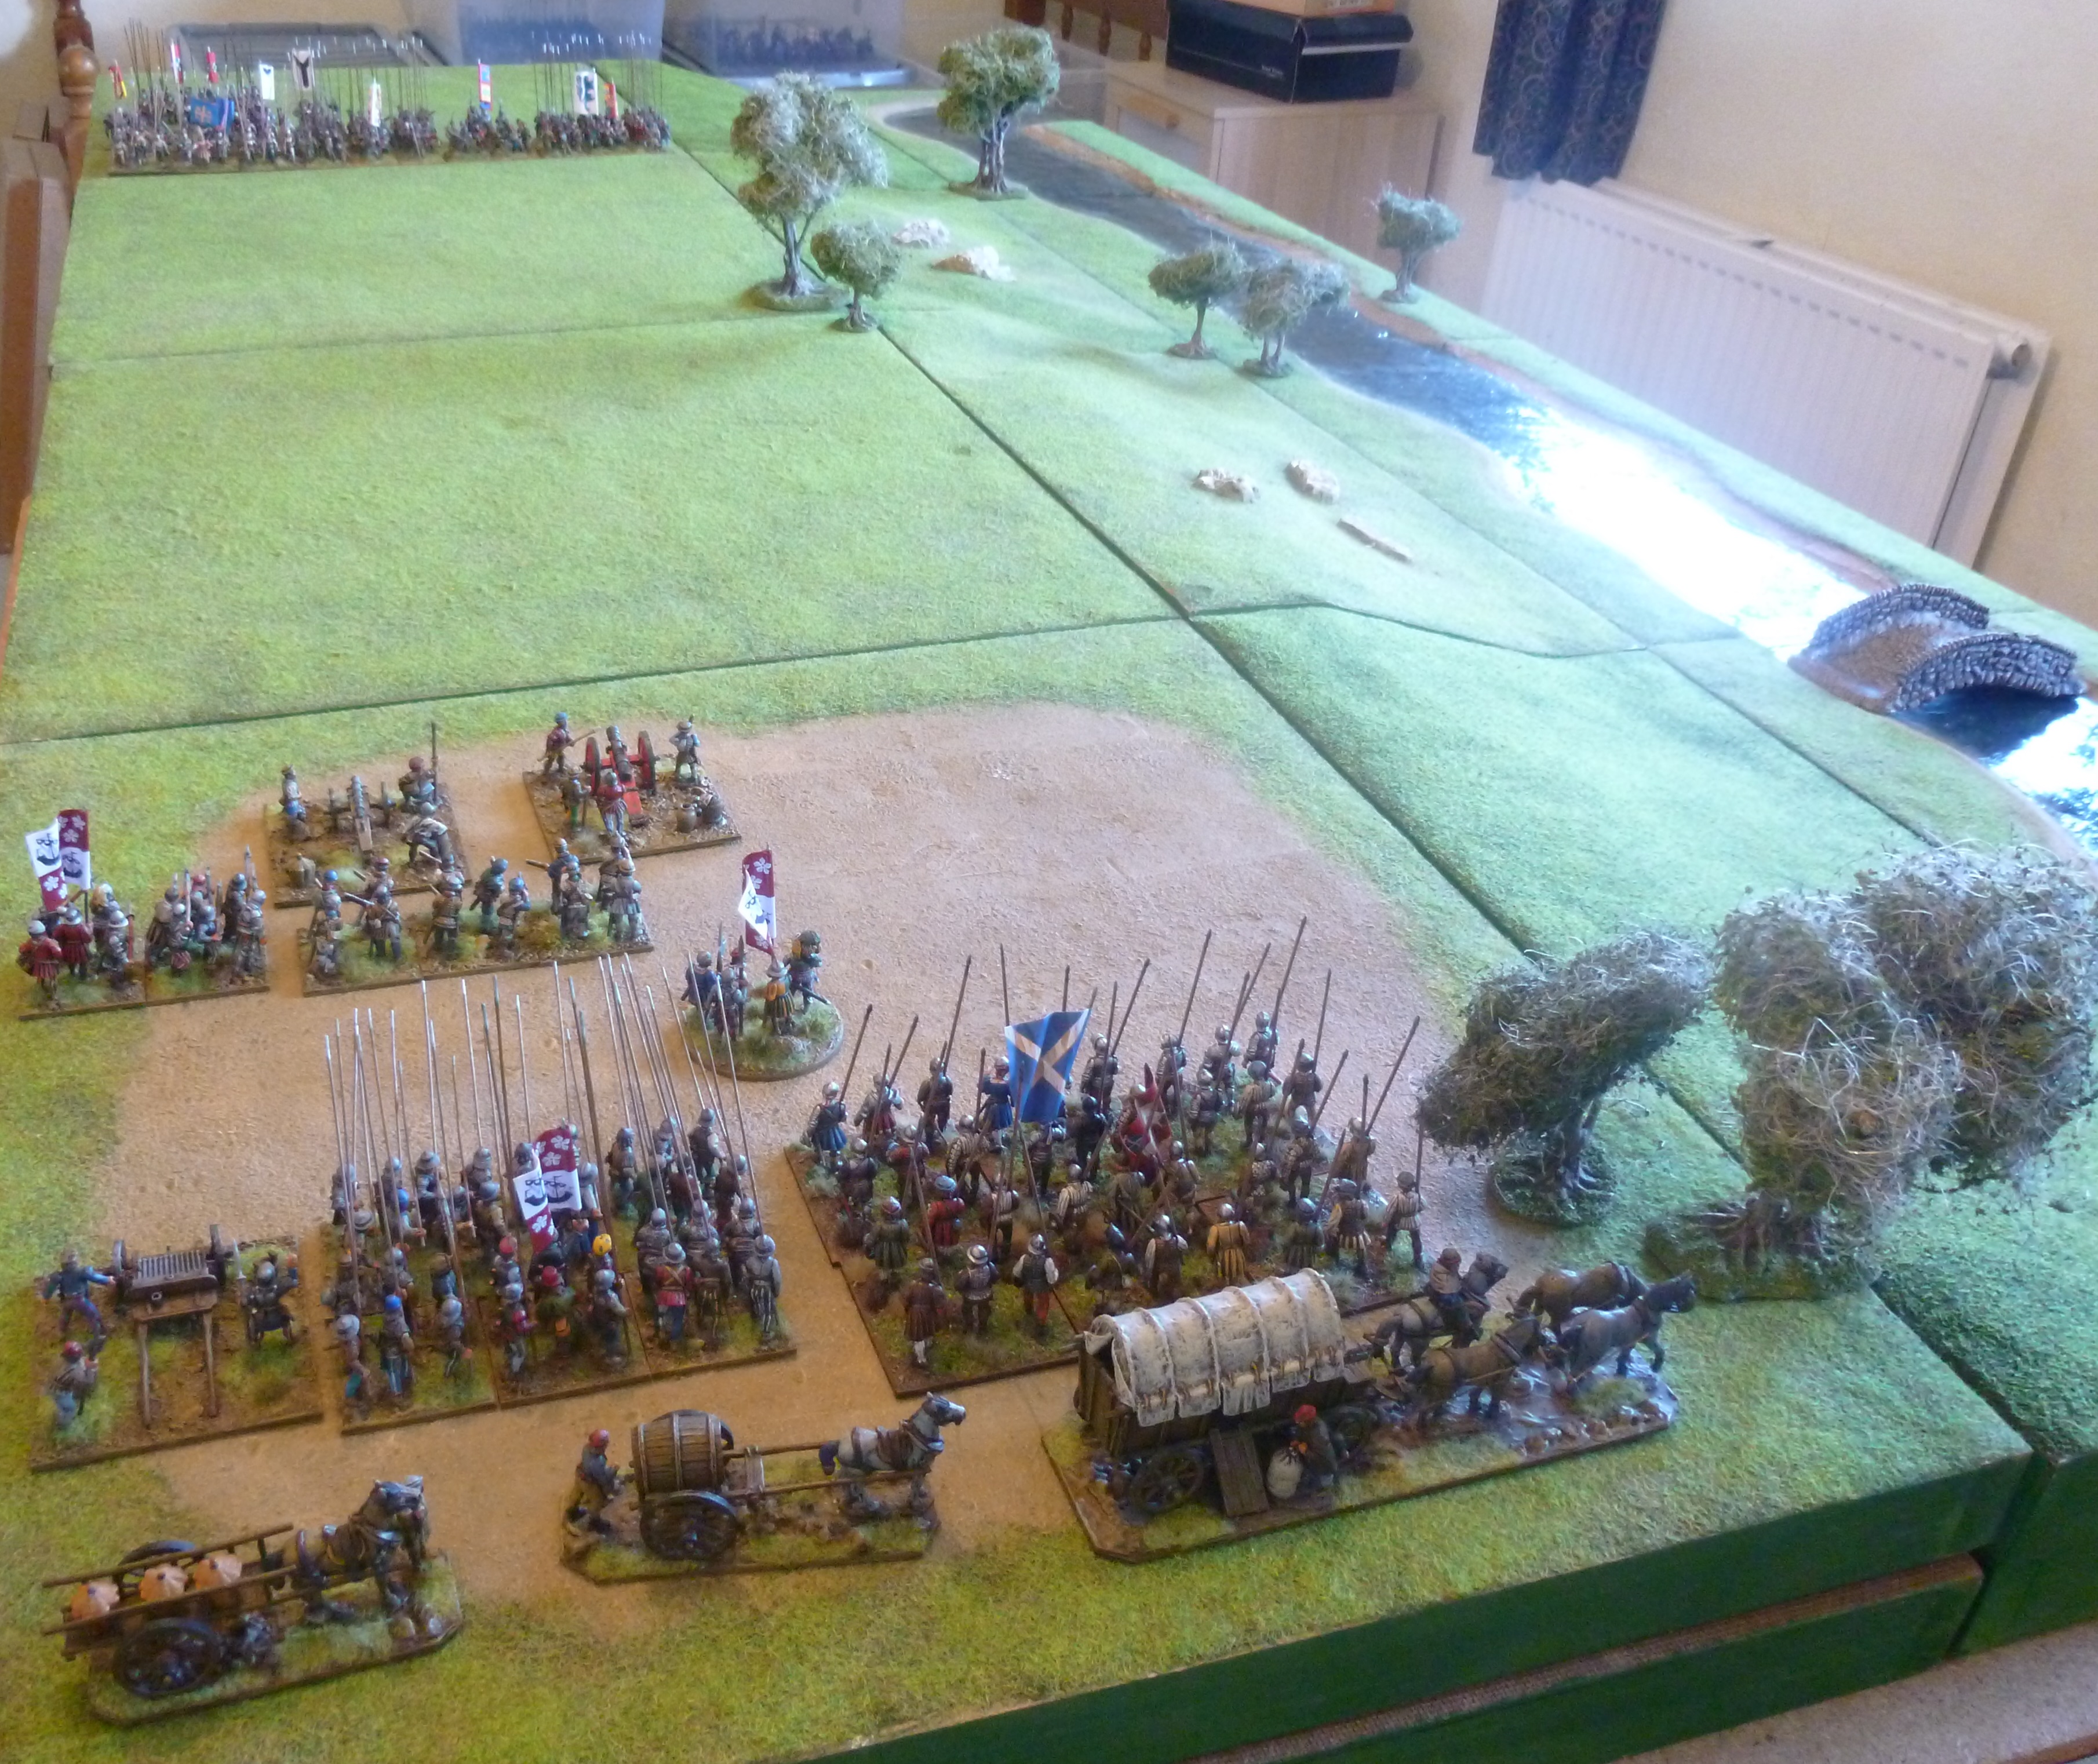
A view of the battlefield from the Hamilton position. The bridge over the Avon is on the right whilst the Earl of Glencairn's troops with the Earl of Lennox and some of his men can be see at the top left.

James Hamilton, Earl of Arran, stands behind his guns and observes Lennox's army.

The Scenario

As always the game was played using our modified "Renaissance Rampant" rules. Each player was in control of two retinues. Lennox's army had retinues led by the earls of Lennox and Glencairn whilst the Douglas faction was led by the earls of Angus and Arran.

At the start of the game Arran's retinue was deployed in full at one end of the table with the bridge on its right flank with Glencairn's retinue and some of Lennox's opposing it at the other end. Most of the Lennox force was assumed to have already crossed the Avon at Manuel Convent.

At the start of the game the Lennox player wrote down which units from the Lennox retinue he wanted to enter from the other side of the bridge. At a minimum both of his guns had to arrive from this table edge but he could assign as much of the Lennox retinue as he wanted to enter at the bridge, apart from Lennox's own Foot Knight unit.

The river could only be crossed at the bridge and the hill tiles counted as difficult terrain for movement and combat.

Angus's Arrival

The Douglas player could roll to see if Angus arrived after the first hand to hand clash had taken place. On the turn after the first clash an 11+ on 2D6 would herald the arrival of Angus's retinue. The following turn a 10+ would mean Angus would arrive and the following turn a 9+ and so on.  Angus's retinue would enter via the left flank of Arran's deployment area up to the midway point of the table. As soon as the correct roll was made the Douglas player had to bring at least three units on, one of which had to be Angus's unit of foot knights.

Victory Conditions

The Victory Conditions in this game were simple. The Lennox army had to slay or rout Angus and Angus and the Douglas army had to slay or rout Lennox. As soon as one of these retinue leaders was slain or routed from the table the game would end.

Highlanders and borderers from Lennox's army advance over Linlithgow Bridge.

The Armies

The Lennox Faction

John Stewart, Earl of Lennox

1 Unit of Foot Knights (John Stewart, Earl of Lennox, retinue leader)
2 Units of Lowland Pike
1 Unit of Retinue Foot
2 Culverins
2 Units of Border Foot (Scotts and Elliotts)
1 Unit of Highlanders
1 Unit of Caterans

Cuthert Cunningham, Earl of Glencairn

1 Unit of Foot Knights (Cuthert Cunningham, Earl of Glencairn, retinue leader)
1 Unit of Foot Knights (John Lindsay, 5th Lord Lindsay)
1 Unit of Retinue Foot
2 Units of Lowland Pike
1 Unit of Scots Arquebusiers

The Douglas Faction

Archibald Douglas, Earl of Angus

1 Unit of Foot Knights (Archibald Douglas, Earl of Angus, retinue leader)
1 Unit of Foot Knights (George Home, 4th Lord Home) 
2 Units of Lowland Pike
3 Units of Border Foot (Homes and Kerrs)

James Hamilton, Earl of Arran

1 Unit of Foot Knights (James Hamilton, Earl of Arran, retinue leader) 
1 Unit of Retinue Foot  (Sir James Hamilton of Finnart)
2 Units of Lowland Pike
1 Unit of Scots Arquebusiers
2 Culverins
1 Organ Gun to assign to 1 unit

We diced to see who took control of each army which resulted in Stuart taking control of the Douglas faction with me in command of Lennox and his supporters. A brief write up of the game follows and as ever the photos and captions are a good way to follow the action.

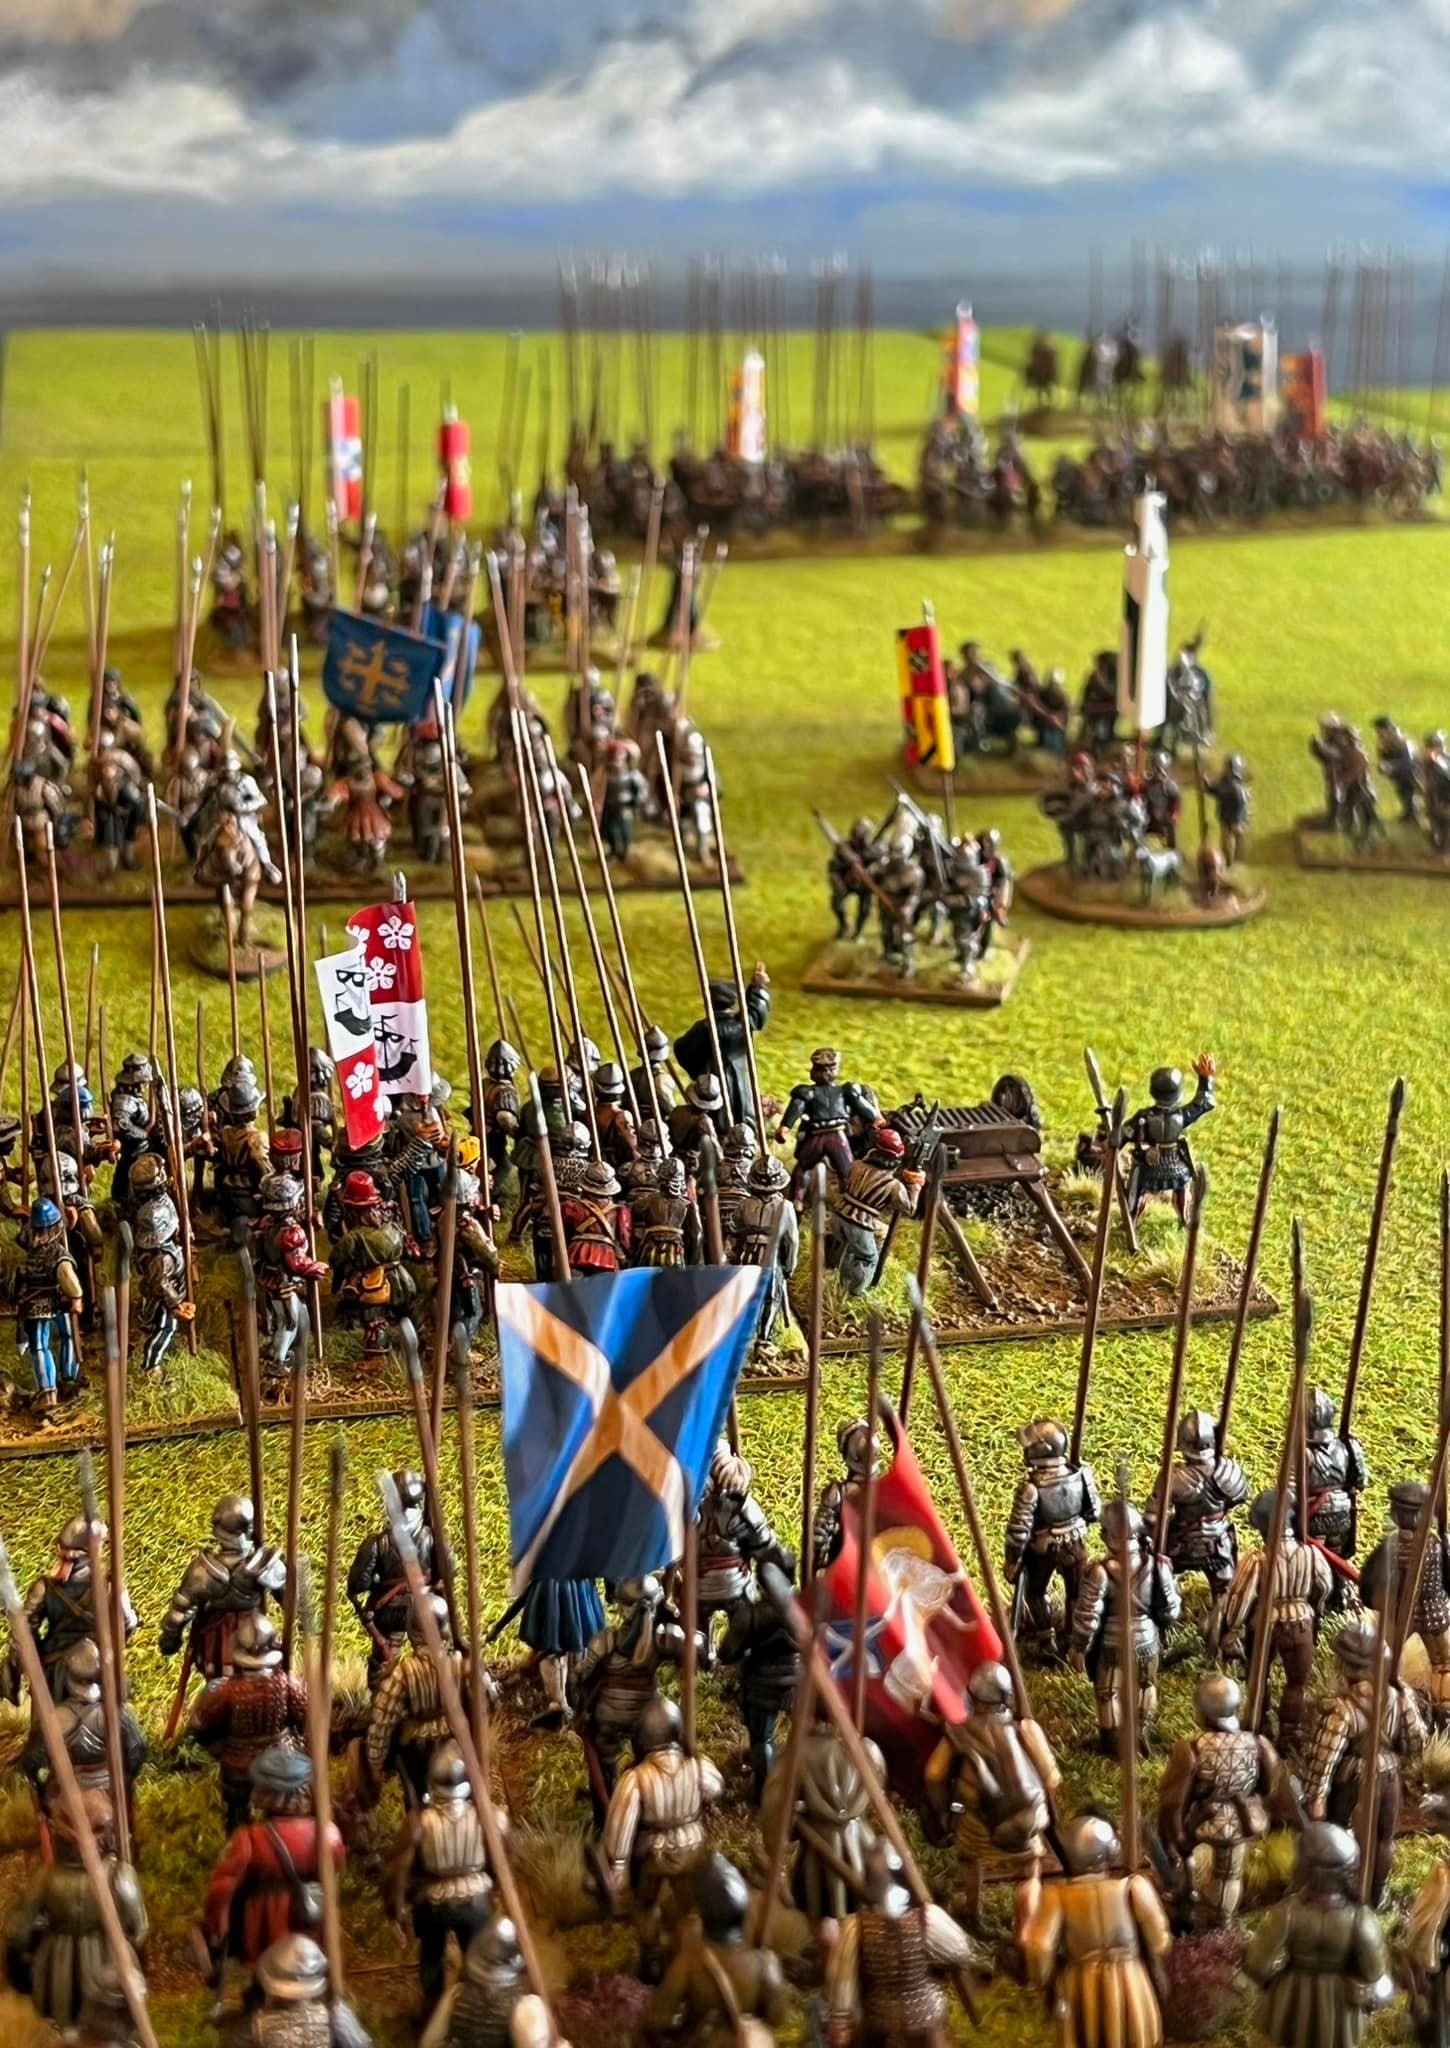
A view of the battlefield from above. The Hamilton force is in the top right with Lennox and Glencairn's troops advancing towards them in the centre right of the picture. The bridge can be seen in the top left with the highlanders and borderers advancing across it.

Scott and Elliott borderers, veterans from the clash a couple of months earlier at Melrose, and highlanders in support of Lennox surge up Pace Hill to attack the Earl of Arran's position.

The Hamilton guns open fire...

...and the highlanders flee back down the hill.

Sir James Hamilton of Finnart leads his retainers down Pace Hill and is slain in a fierce melee with the Scott borderers.

The day started with a surprise for Lennox and his captains. They discovered that the bridge over the River Avon had not been closely guarded by the Earl of Arran's men. Taking advantage of this Lennox sent his contingent of highlanders and the Scott and Elliott borderers across the bridge on Arran's right flank. Lennox also deployed his guns at the bridge, there was no time for them to be dragged upstream to the ford at Manuel Convent.

As Lennox's highlanders and borderers advanced up the banks of Pace Hill the Hamilton artillery opened fire. Unused to such terrifying engines of war and taking casualties from the guns the highlanders lost their nerve and temporarily fled back down the hillside. The Scotts and Elliotts continued to advance leading Arran's bastard son, and notorious hot head, Sir James Hamilton of Finnart to charge down the hill with his retainers. Hamilton of Finnart was slain in the melee that followed.

As the Lennox forces begin to surround the Hamiltons...

...Angus arrives with his Douglas forces, accompanied by the Homes and Kerrs.

Archibald Douglas, Earl of Angus, takes to the field with reinforcements for the beleaguered Hamiltons.


The Lennox forces push forward.

A view of the field. The Hamilton and Douglas forces are in the left hand corner with the army of Lennox and Glencairn attacking from the right hand side and the top of the photo.

The Cunninghams under the Earl of Glencairn advance into the fray.

The battle is in full swing!

There is heavy fighting at the crest of Pace Hill as the highlanders and Scott and Elliott borderers attack the Hamiltons and Douglas.

Reinforced by Angus's borderers Arran's men hold the attackers back.

Hamilton of Finnart may have been slain but his attack on the Lennox contingent crossing the bridge bought time for the rest of his father's force.  As Lennox's highlanders and borderers crested Pace Hill they were dismayed to see that Angus had arrived on the field with his supporters. Amongst the Douglas army were the Homes and Kerrs, borderers who had scores to settle with the Scotts and Elliotts, chief of these being the slaying of Andrew Kerr only a couple of months earlier at Melrose. The borderers of both sides engaged in a back and forth fight but the Scotts and Elliotts were slowly beaten back despite the supporting archery of the highland contingent who continued to shoot into the Douglas and Hamilton forces.

Whilst this fight was taking place the Earl of Glencairn, supported by Lord Lindsay, advanced with his pike blocks in an attempt to defeat the Hamilton pike before all of Angus's forces could arrive. Lennox was more cautious and held back with his "battle" seeming unwilling to commit himself to the fight when the outcome was far from certain. The Hamilton forces did not advance to meet Glencairn as they knew more reinforcements were on the way and that their guns would be more effective if Lennox's army was forced to advance into them.

Troops under the Earl of Glencairn and Lord Lindsay advance on the Hamilton and Douglas position.

John, 5th Lord Lindsay, leads the attack. His men are met by a hail of shot from the Hamilton artillery.

After some fierce fighting the highlanders and Scotts of Lennox's army have been unable to gain any ground.

Glencairn and Lindsay continue to lead the assault...

...whilst Lennox himself advances behind them with Lords Avondale and Crichton.

A view of the field showing the pike block fighting in the top left whilst to the right Douglas's border allies push back Lennox's highlanders and Scotts and Elliotts who crossed the bridge at the start of the battle.

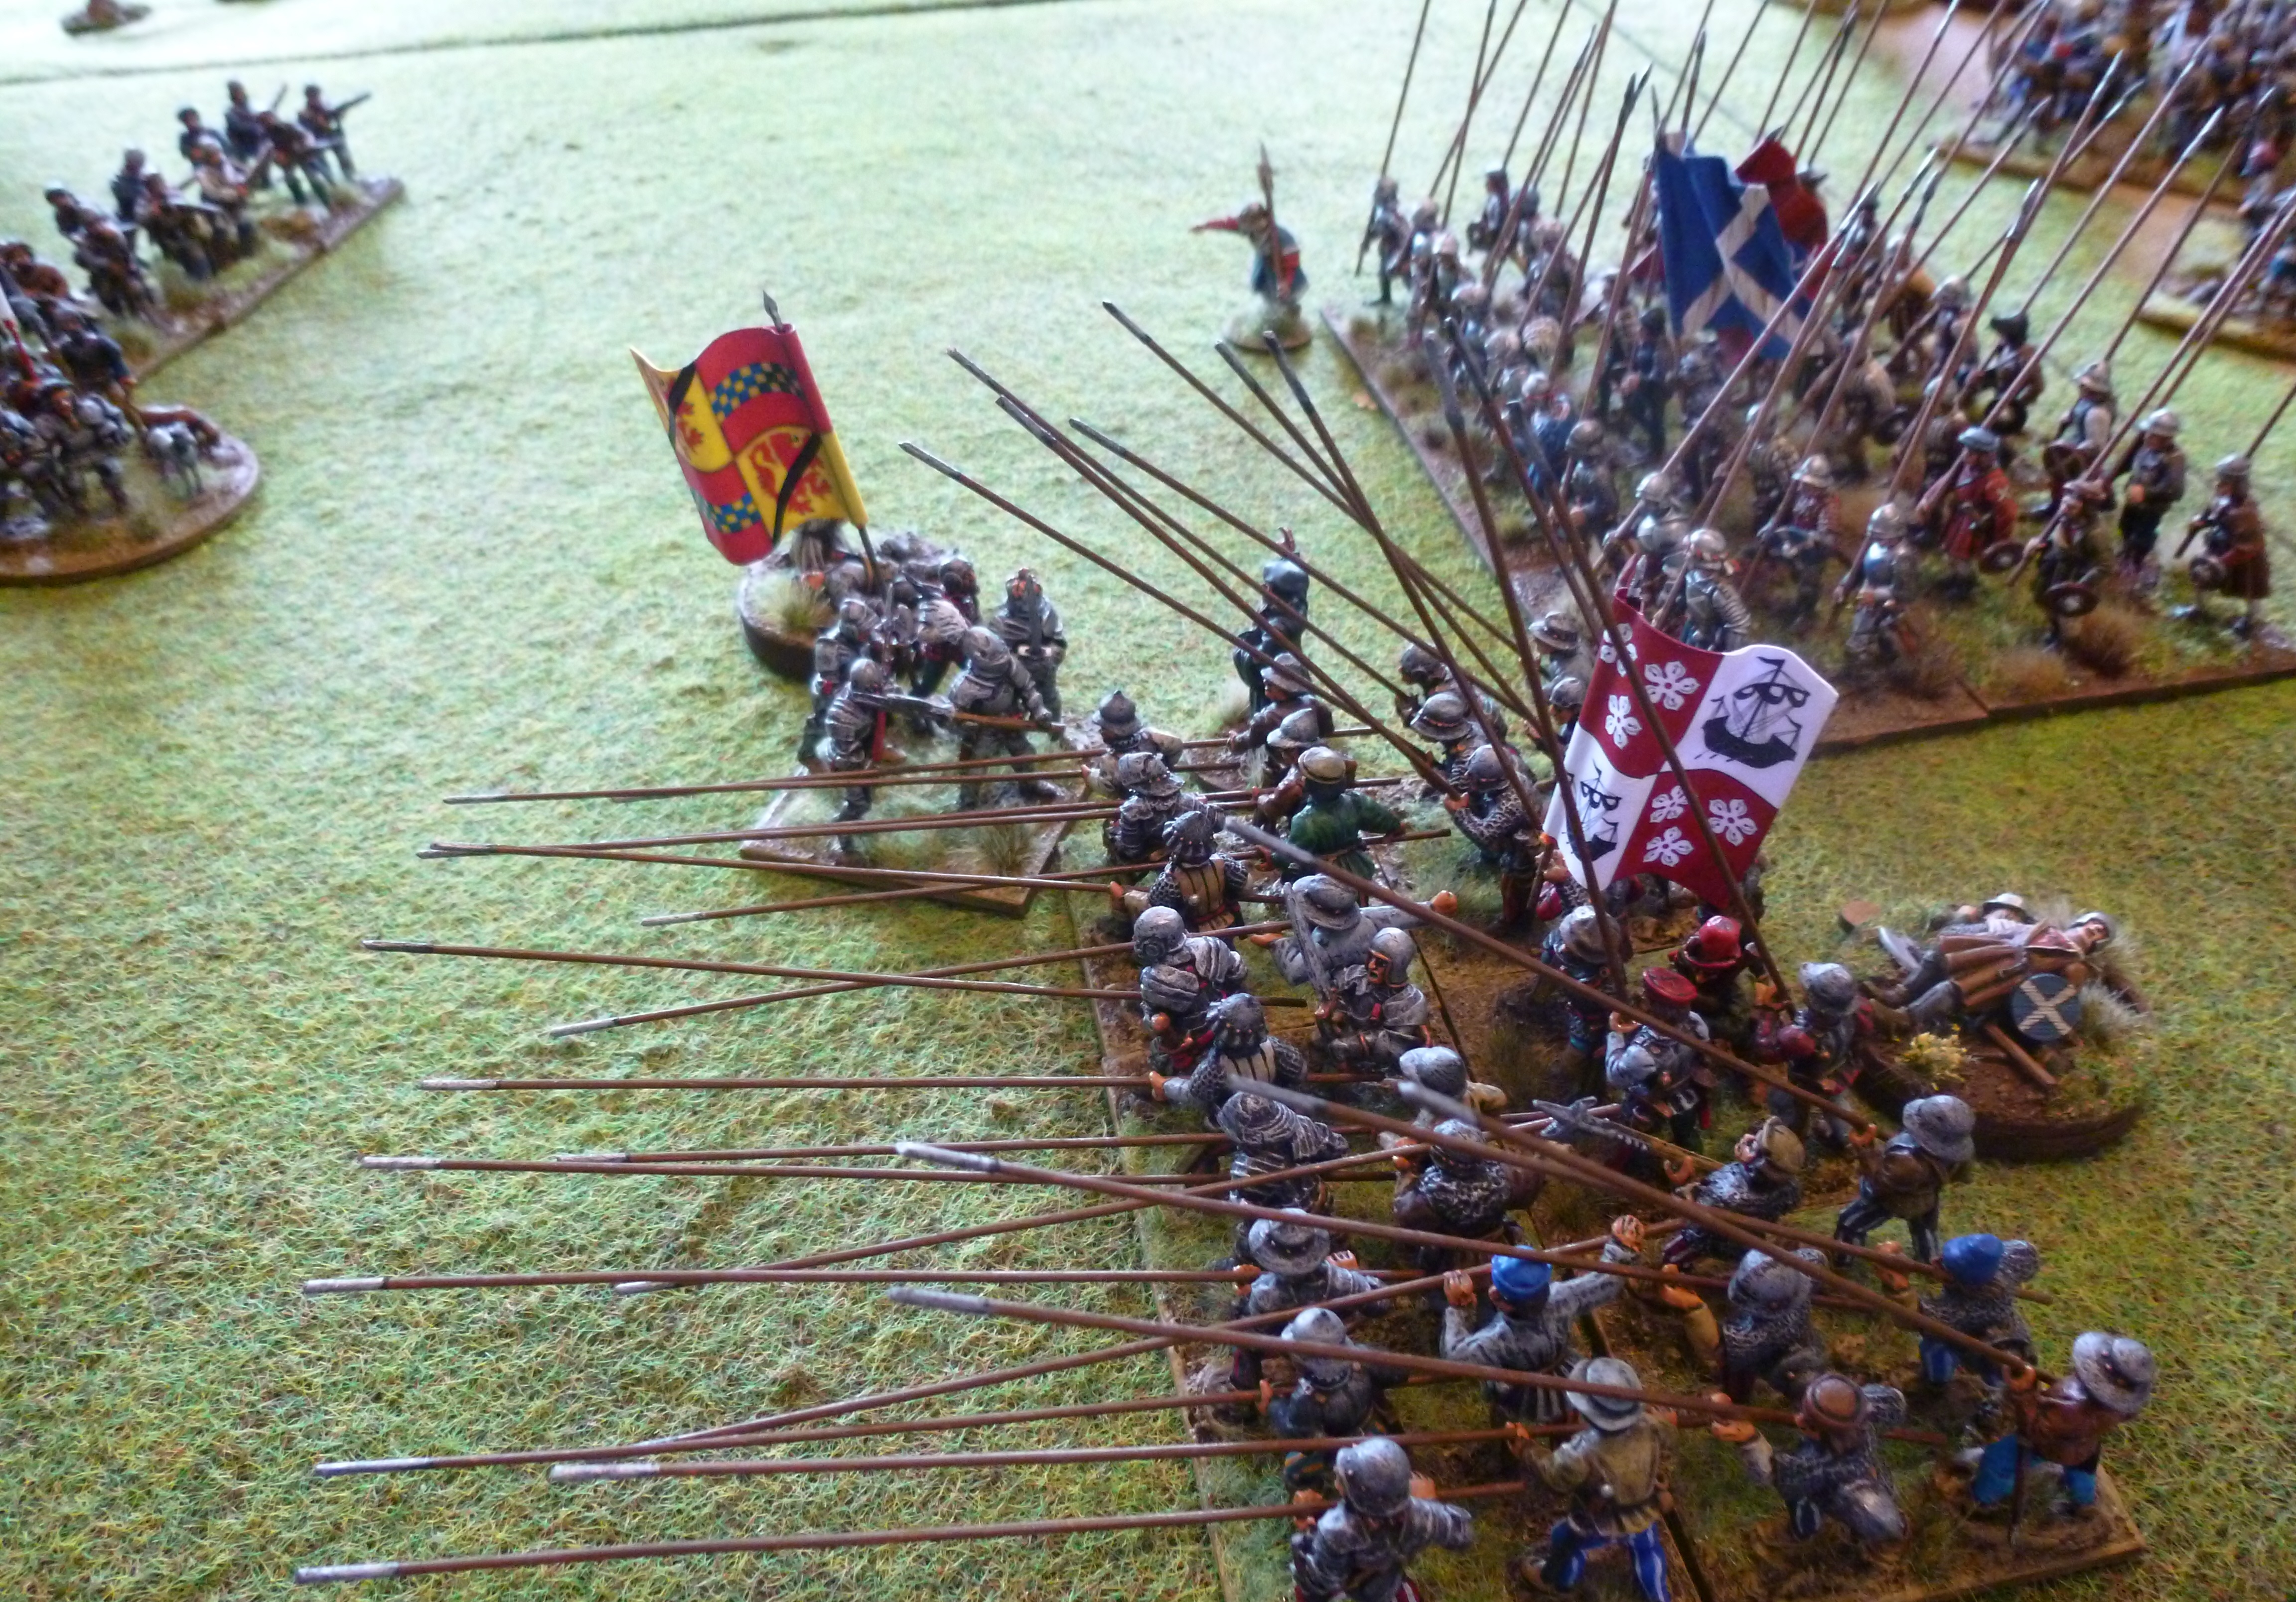
John, 5th Lord Lindsay, enters into a melee with the Hamilton pikemen.

The heaviest fighting of the day now took place with the Earl of Glencairn and Lord Lindsay leading their men from the front in an attack on the Hamilton pike blocks. The Hamilton artillery pieces wrought havoc on the advancing pikemen and John, Lord Lindsay, was cut down in the confusion of the melee. Glencairn pressed the attack but as more of Angus's troops arrived on the field he too was slain.

Seeing Glencairn's men in difficulty John Stewart, Earl of Lennox, finally committed his remaining forces and entered the fray. For a while the outcome hung in the balance with pike blocks crashing into each other. The Earl of Arran was cut down by Lennox's retainers and the Earl of Angus pushed into the fight in an attempt kill Lennox. Angus's personal intervention backfired. He did find Lennox but was defeated in the fight between him and his bodyguards. The battle was over. Despite appalling losses, Lennox had won the day meaning James V would be free from Douglas control. 

Lord Lindsay is slain in the fighting...

...to be followed shortly by the Earl of Glencairn who is bested in a fight with Home and Kerr pikemen from the borders.

James Hamilton, Earl of Arran, chastises a prisoner as the fighting continues around him.

Lennox and Crichton's men prepare to engage with the Earl of Angus's men.

The "push of pike" between the rival forces.

Arran is cut down by Lennox retainers...

...before Lennox himself is defeated by Angus. It has been a fiercely contested battle with heavy casualties on both sides.

 This was a really hard fought and entertaining game. A great way to end our series of games set during James V's minority. Even though we didn't have any campaign style rules interconnecting the games, playing them in the correct order of "Cleanse the Causeway", the attack at Melrose and then the final battle at Linlithgow Bridge was a great way to build up the narrative. We tried to have the correct banners for the families who took part in the battle rather than lots of St Andrews saltires, This helped to create the right feel for this internecine clash. It was interesting to have two 16th century Scots armies facing each other on the table, with border and highland contingents present.

We stuck to the Scots theme and followed this tabletop clash with our latest 16th Century game to date, the assault on Leith in 1544 which I will cover in another post. 

Wednesday, 1 March 2023

Tudor Men at Arms


One of my current projects is building up sufficient forces to game Henry VIII's and Protector Somerset's 1540s campaigns in Scotland. To bolster this part of the collection here are a dozen men at arms for the mid 16th century, all from The Assault Group. These are great figures and the only tweaks have been to replace the swords that some of them were carrying with lances. In these pictures they are shown with other English cavalry from the 1540s, demilances and border horse, which are also TAG figures but with more conversion work. The flag the men at arms are carrying is from Pete's excellent range of flags and is based on one that a group of men at arms, possibly Gentleman Pensioners, are carrying in one of the Cowdray House Murals showing Henry VIII's 1544 invasion of France.

Whilst they may be carrying a Tudor flag in these photos the standard is swappable and I have not painted any of the men at arms in a way that would mean they can only be Tudor horsemen. As such this unit would be suitable for lots of mid 16th century armies, I just simply need to change the flag. The photos below show some closer shots of the men at arms and then all of the English 1540s cavalry.

Tudor men at arms by The Assault Group.

Tudor men at arms for the 1540s.

Mid 16th century men at arms.

An English cavalry force from the 1540s.

The flag is from Pete's Flags and is based on the one in the image below - the copy of the Cowdray House Mural.

Detail from a copy of the Cowdray House Mural showing Henry VIII's 1544 invasion of France. The Lion flag carried by the men at arms can be seen in the centre, flying above the lances of the horsemen.

An English mid 16th century force comprised of men at arms, demilances and border horse.

Wednesday, 15 February 2023

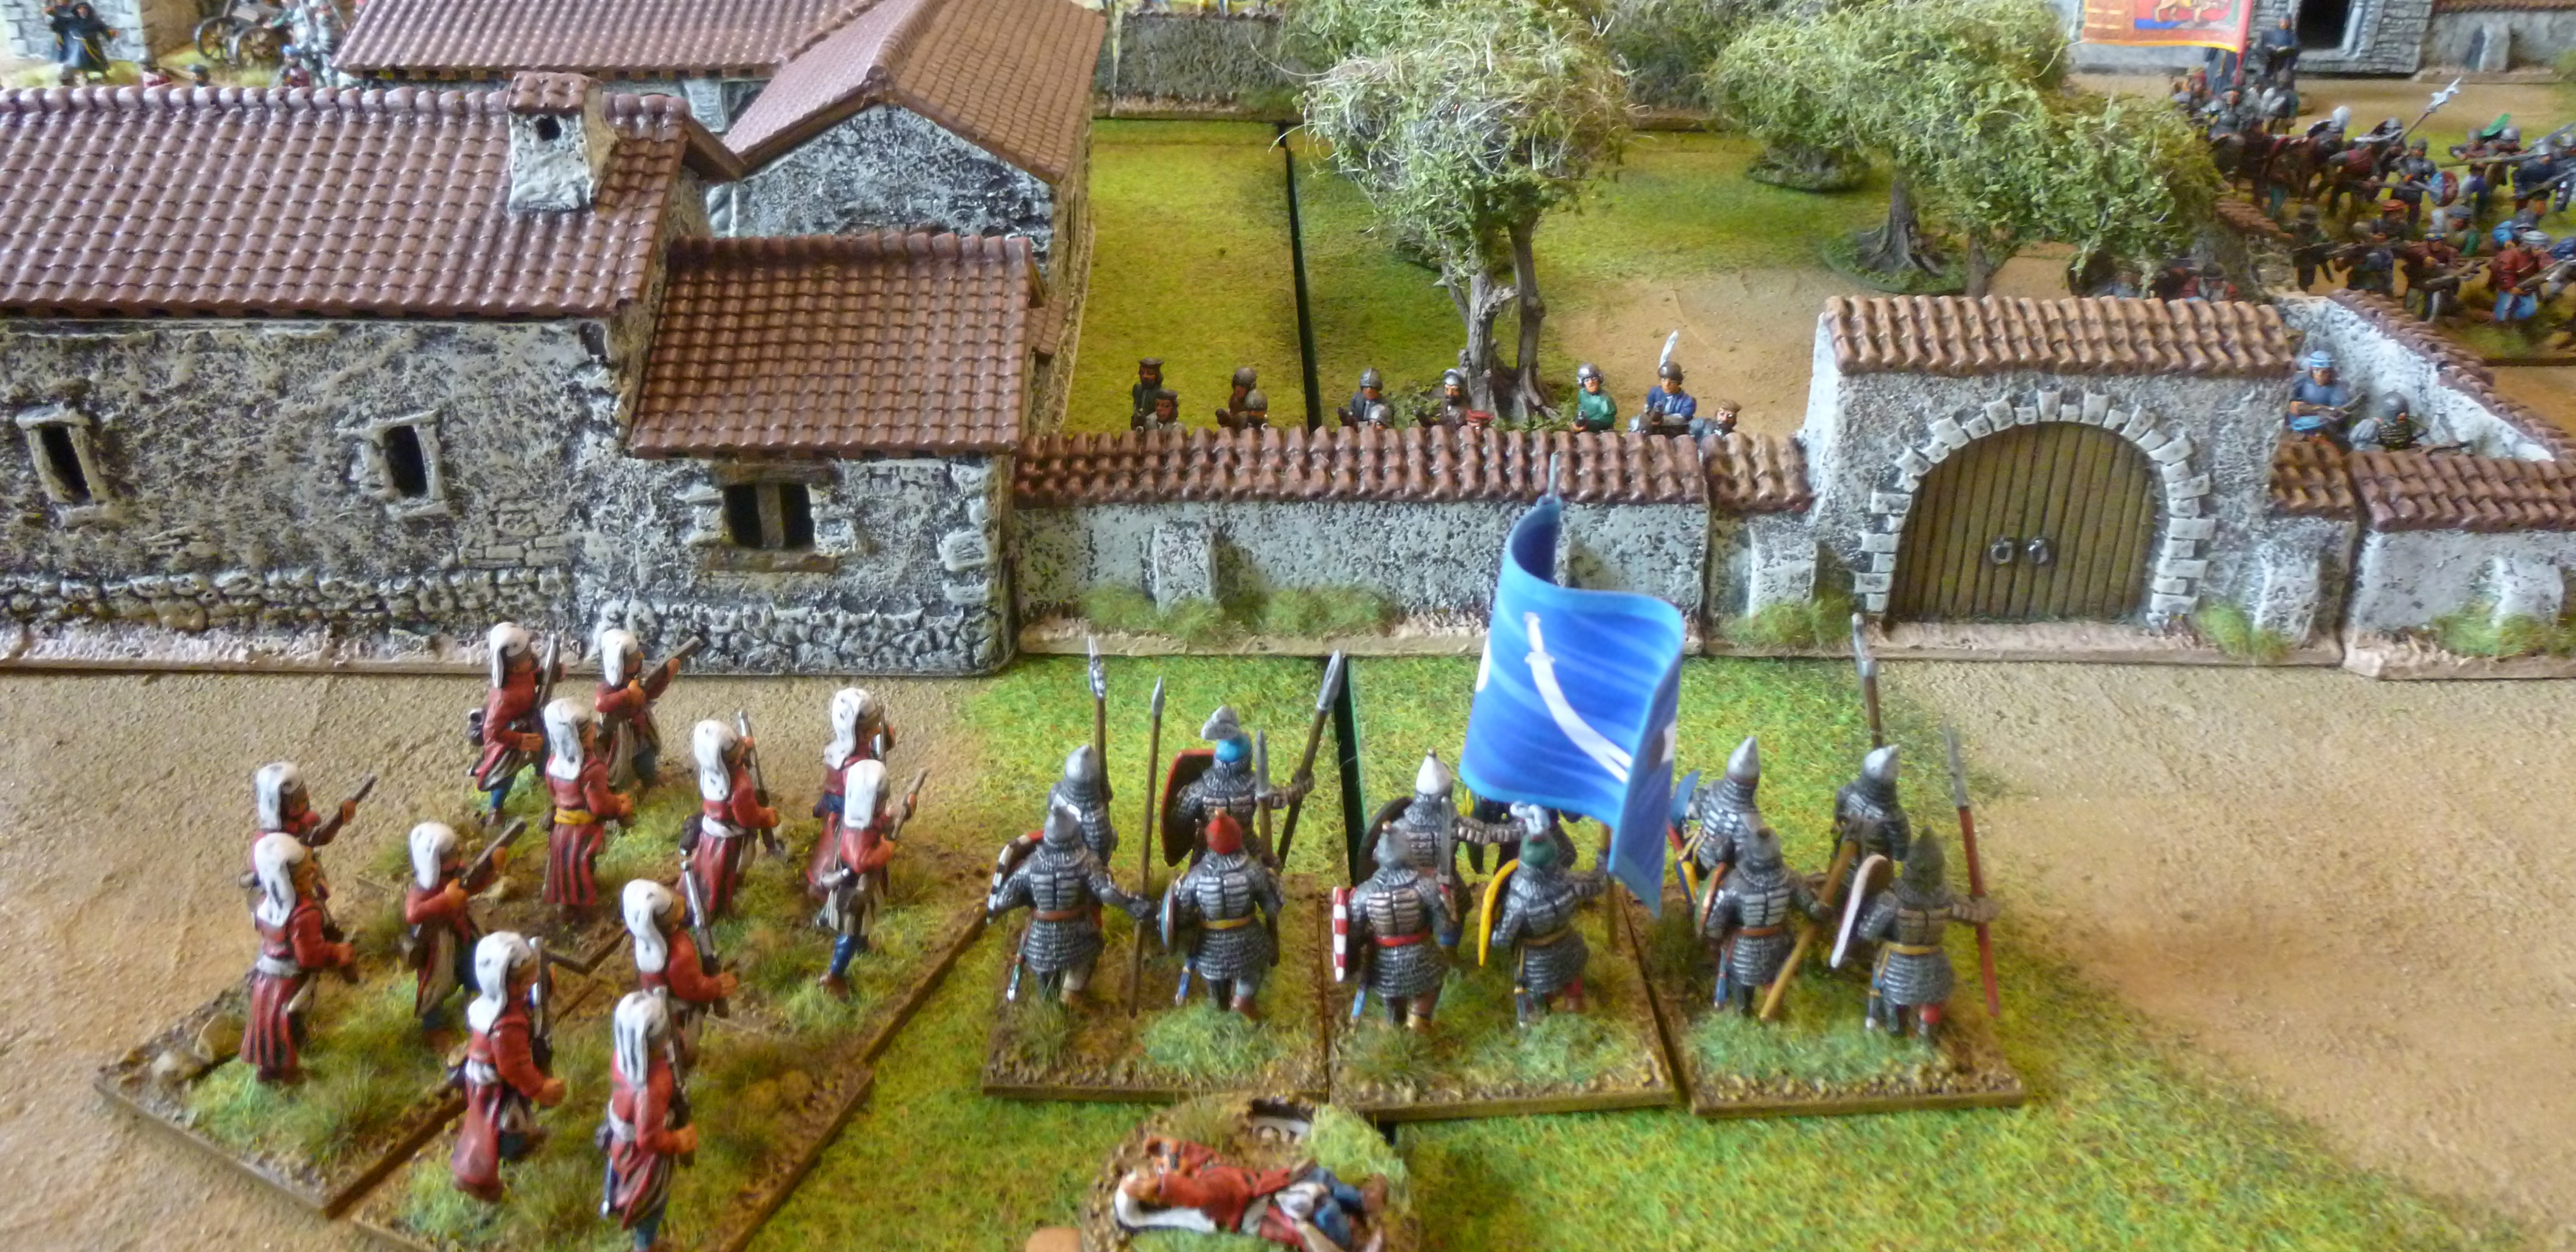
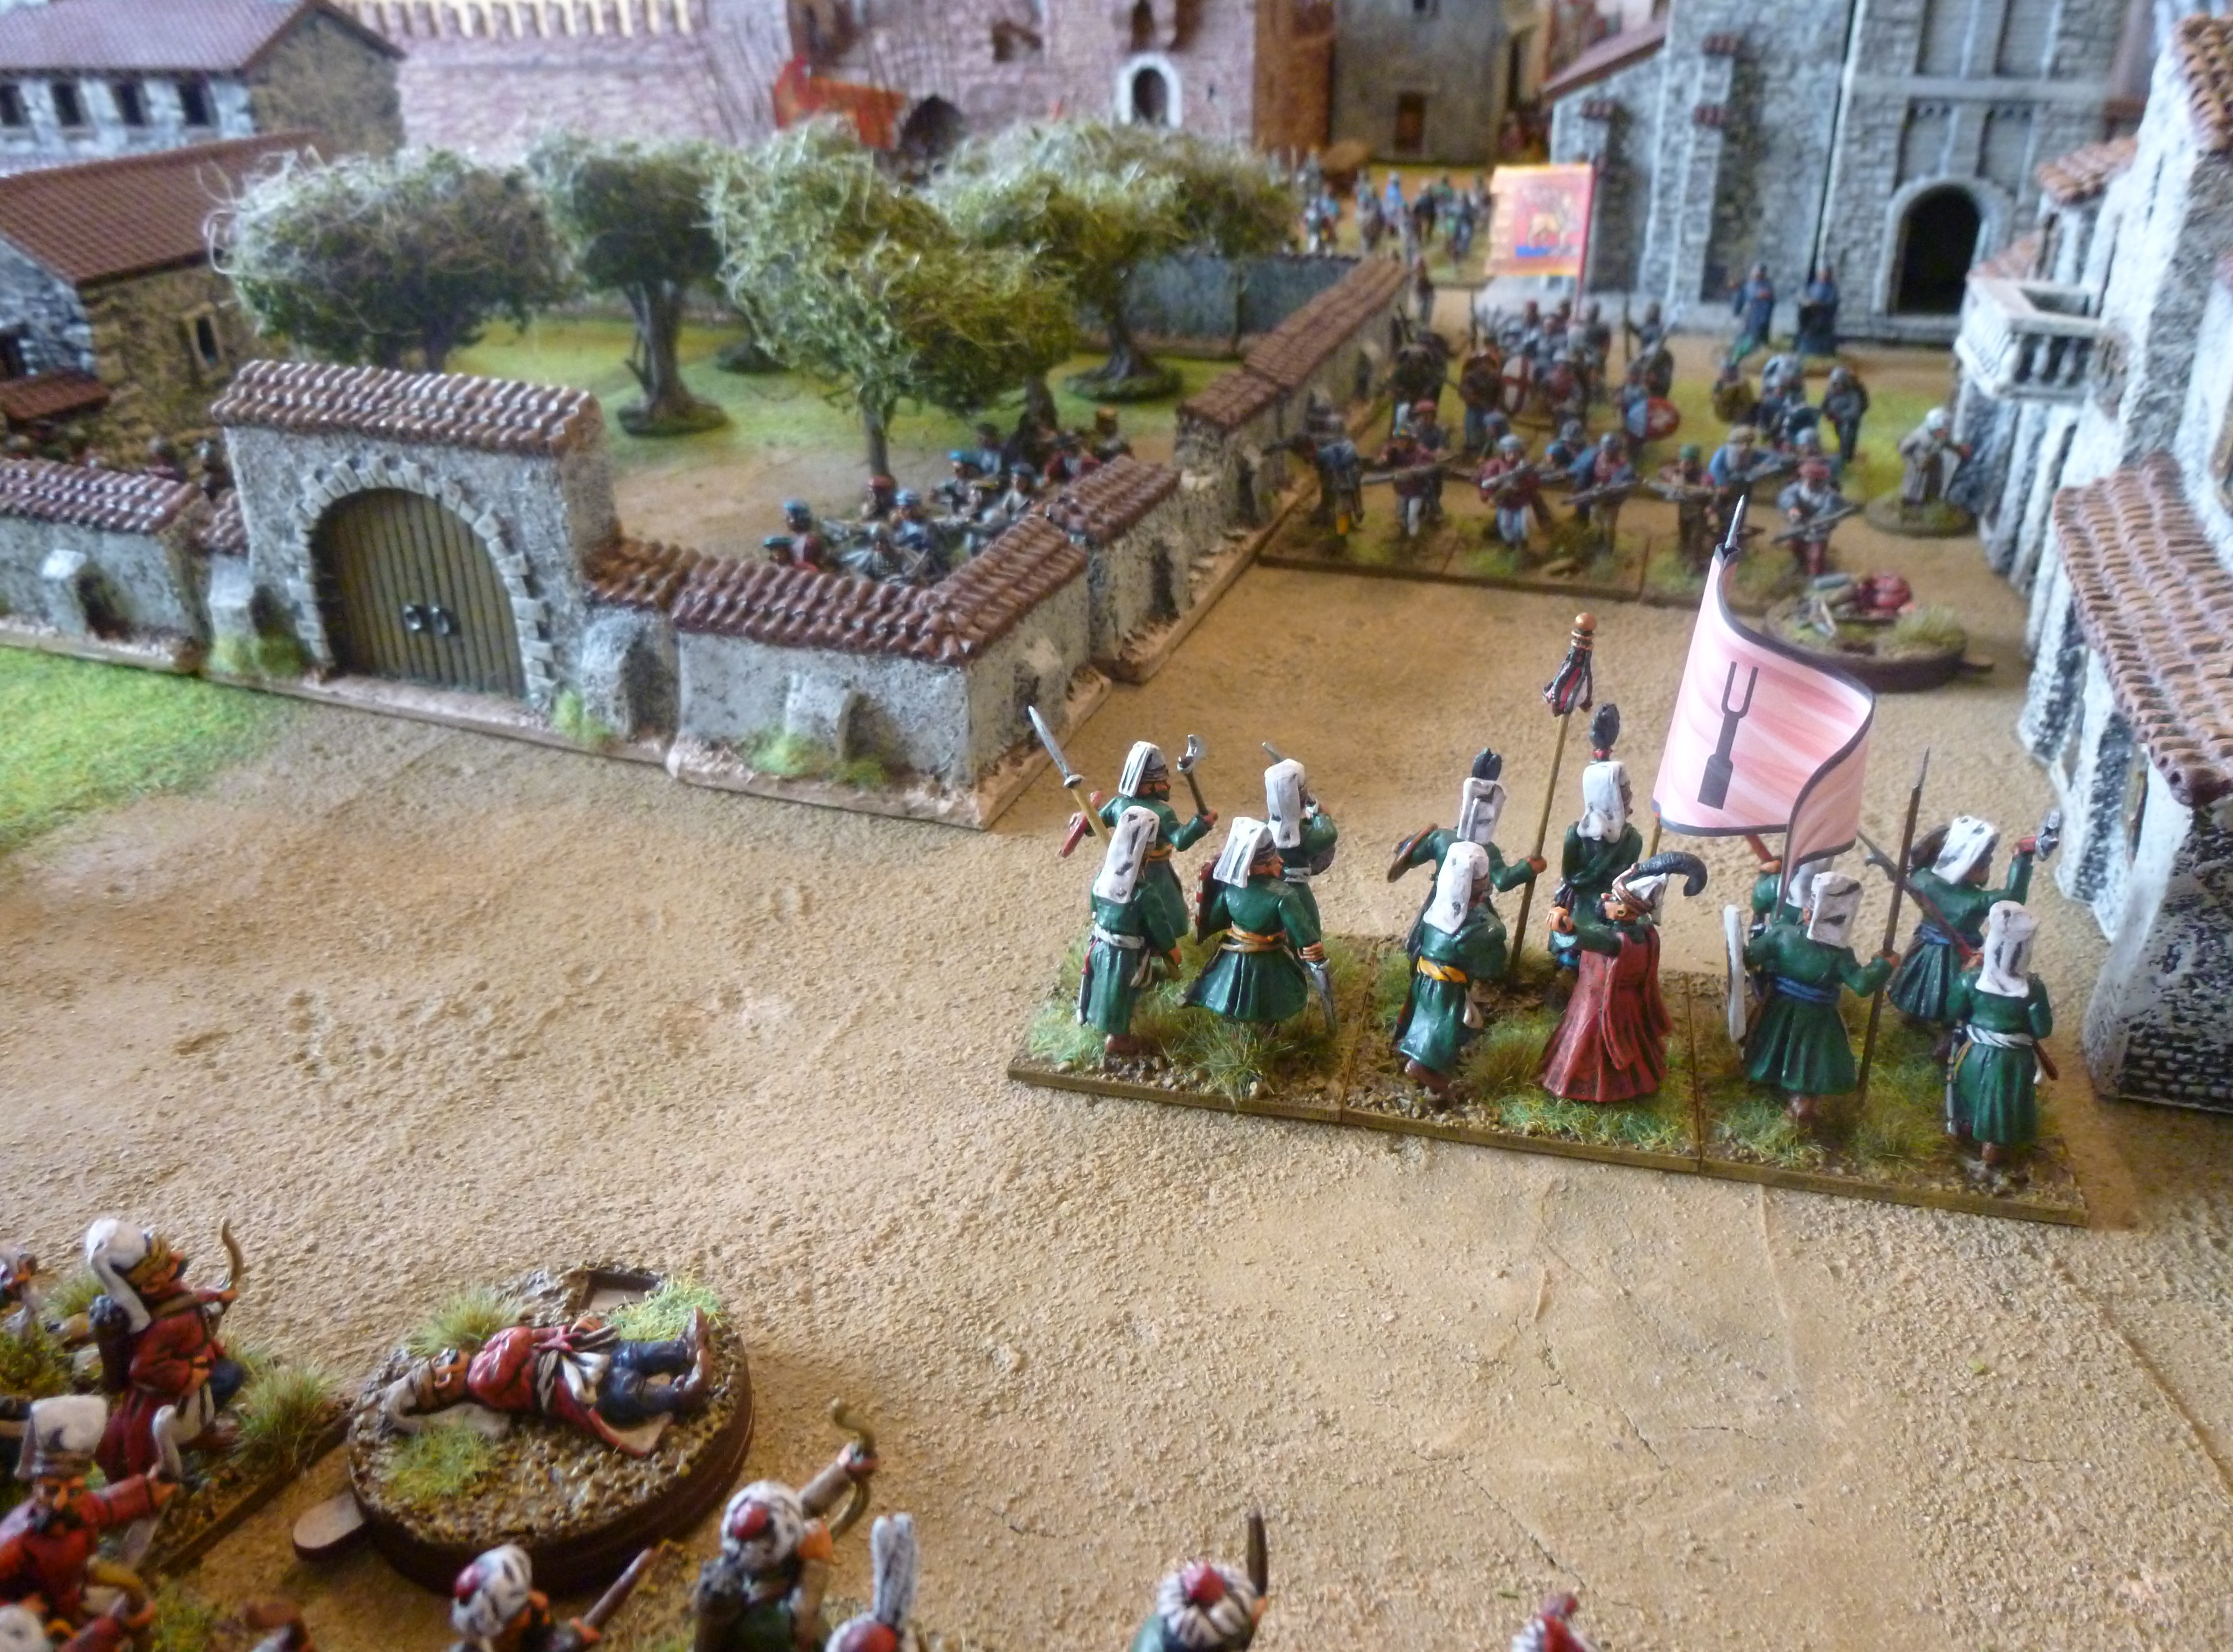
The Siege of Modon, 1500


This weekend my friend Tom visited (check out his Hundred Years War blog here: https://englandswarsinfrance.blogspot.com) and we continued our series of wargames. We played out a scenario based on the fall of the Venetian held Greek town of Modon, now called Methoni, to the Ottomans in August 1500. It meant we could give the harbour and boat their first outings as terrain pieces. I guess a Venetian galley would've been more suitable than a Carrack, but it looked the part none-the-less. This game also fitted in well with one of our previous table top clashes that centred around the Spanish aid that was sent to the Venetians under the leadership of El Gran Capitan, Gonzalo de Cordoba, following this siege, http://camisado1500s.blogspot.com/2020/09/the-siege-of-castle-of-st-george.html.

The Siege of Modon, August 1500

The Ottoman-Venetian War of 1499-1503 started badly for the Republic's Greek Colonies. The 12 August 1499 saw the Venetians attempt to destroy the Ottoman fleet under Kemal Reis at Zonchio, but most of the Venetian galleys refused to engage resulting in a missed opportunity to stop Ottoman naval progress. Following the initial engagement at Zonchio inconclusive naval clashes took place at Zante and Cape Papas over the next few days but the Ottomans were able to sail into the Gulf of Corinth leading to the surrender of Lepanto at the end of August 1499.

The new year saw pressure building on the outlying defences of Modon. Along with Coron, Modon was a principal Greek colony of Venice, being held by the Venetians since the start of the 13th century. Together the two colonies were known as the "two eyes of the republic". Both were located on peninsulas, being surrounded on three sides by the sea and as such relying heavily on naval force as a defence. During the first Ottoman-Venetian war of 1463-1479 the Ottomans had used artillery to take Negropont, both to breach the walls and probably to hold the Venetian relief fleet at bay with coastal batteries. This had led Modon and Coron to be refortified with up to date artillery fortifications on their landward sides at the end of the 15th century. A late 15th century image of the town is shown below and the ruins is shown below whilst the ruins can be viewed here: https://visit-pylos-nestor.gr/wp-content/uploads/job-manager-uploads/job_cover/2019/04/6cff81ed2fd5fd02c6bfe5986e55231b_XL.jpg.

Modon c.1486 from Bernhard von Breydenbach's "Peregrinatio in Terram Sanctam"

Three years before the siege Modon was visited by the Cologne Pilgrim and Knight, Arnold von Harff, who was pleased to find a German master gunner, called Peter Bombadere (obviously a name suitable for his trade!) who gave him a tour of the town. Harff described the tour as such "He showed me the strength of the town and the artillery, and it is in truth a small town but strong. On the land side it has three suburbs with three walls and three ditches hewn out of the natural rock, on which they are building daily. He took me round the innermost wall, which was very thick and built of rough stones: in addition there were many fine cannon, great carthouns and slings". It is clear from this description that following the first war with the Ottomans the Venetians had been preparing Modon's defences and were still in the process of doing so in 1497.

On 30 January 1500 2,000 Turkish horse and 1,000 infantry were engaged near the town, whilst by February the garrison were skirmishing with Ottomans within 4 miles of its walls. By June the garrison of Modon estimated an Ottoman force of 12,000 was close to the town, with more reinforcements and heavy guns on their way. The siege began on 8 July 1500 with perhaps as many 60,000 Ottomans having arrived. Bombards were used against the outer walls but the Ottoman heavy guns were few. The first attacks were made against the suburbs of the town which had not been cleared of houses and consequently had to be cleared under fire from the attackers. The 9th of July saw the arrival of galleys under Valerio Marcello whilst further naval reinforcements arrived with Girolamo Pisani on the 12th, adding reinforcements of up to 1,200 men to the small garrison. In the face of constant assaults the Venetian defence of the suburbs was given up on 16th July with the garrison retreating behind the "innermost wall" as it had been described by Harff . The Ottoman Sultan, Bayezid II, arrived by land on 17th July with Ottoman ships arriving the following day. The Venetian defenders now estimated the Sultan's army to be around 90,000-100,000 strong.

The Venetians knew that most of the Turk's heavy artillery would be brought to the siege via their fleet. As such Girolamo Contarini, in command of the Venetian fleet, engaged Kemal Reis and the Ottoman fleet at Navarino on 24 July 1500 in an attempt to stop the besieging force being further augmented. Two of the Venetian's great galleys were overwhelmed in the clash and Contarini's own galley nearly sunk. With the galleys of Venice being unable to halt Kemal Reis his fleet landed nine bombards and two mortars at Modon the following day, 25 July. This meant they could now intensify the bombardment of the town and it became continuous, the Ottoman gunners working day and night. The reports of two of the garrison's senior officers, Marco Gabriel and Antonio Zantani, described the ceaseless bombardment with the two Ottoman mortars firing randomly into the town. The defending forces were rapidly running out of powder and arrows.

Having been unable to stop the main Turkish fleet from reaching the siege Girolamo Contarini made a desperate attempt to relieve Modon. Five of his best galleys were loaded with 400 additional troops, more master gunners and carpenters along with 400 barrels of gunpowder and 15 cases of arrows. During the night of 9-10 August four of these galleys succeeded in breaking through the Ottoman vessels patrolling the waters surrounding the town. Many of the surviving garrison came down to the water to help unload the supplies. This left the landward walls with only a skeleton defence to hold them. A Janissary assault was launched by the Ottomans who were able to secure part of the walls. As the Janissaries broke into the town fierce fighting continued through the night . Bayezid had ordered that no quarter be given to adult males resulting in the deaths of perhaps 800 to 1000 of the garrison. Of the garrison's senior officers Antonio Zantani died in the fighting whilst Marco Gabriel (see the contemporary image below) was taken as a prisoner to Constantinople only to be executed the following year. Following the fall of Modon the arrival of the Ottoman fleet at Coron led to its surrender whilst the Venetians would strike back, with Spanish aid under Gonzalo de Cordoba, in December at Cephalonia.

Vittore Carpaccio "Young Knight in a Landscape", this may well be one of the Venetian captains from the siege, Marco Gabriel, with Modon in the background although I have also seen suggestions the Knight is Franceso Maria della Rovere.

The Scenario

The game was based on the Ottoman assault of the innermost wall of Modon and the fight for the town itself. It was played using our Renaissance Rampant version of Lion Rampant. The Ottoman forces were positioned in the ditch beneath the walls whilst one Venetian retinue, under Antonio Zantani, was positioned near the walls within the town and the other, under Marco Gabriel, was just outside the walls around the harbour. The aim of each side was to control the town via the defence or capture of three towers.

As the actual assault took place at night we did consider adding night time rules and halving the ranges of the missile weapons or making it harder to roll a "hit" but in the end we left this out.

Special Rules

The Mortars

To represent the random firing of the mortars into the town every other turn the Ottoman player could decide to fire a mortar into Modon. The Ottoman player placed a template and decided where he wanted the mortar shot to land. He then rolled a scatter dice (a D6 with arrows on it) and 3D6. The template would then deviate by that amount before being placed. Any unit with a base under the template would take a 6 dice attack hitting on 5+ with a minus one to armour.

The Venetian Guns

Although desperately low on powder the Venetian defenders still had some artillery pieces left. At the start of the game the Venetian player took eight playing cards. For every picture card drawn, king, queen, jack, he drew he could place an artillery piece in one of the buildings on the board, which he noted in secret. At the start of his turn he could fire one of these if it was within range of an Ottoman unit. It fired just like an organ gun from our modified rules. Each piece could only fire once per game, the crew were assumed to have fled after the gun was fired.

Terrain

For the Ottoman units entering Modon the ditch did not hinder movement but the walls facing the ditch took a turn to cross via ladders or through the breach. Access in and out of the harbour was only through the main harbour gate or the sally port. The small walls in the town gave cover and counted as difficult terrain to fight over. The whole of the walled orchard was difficult terrain and gave cover.

Victory

Within Modon there were three towers which formed objectives, two were fortifications and one was the large church (see the photo below). The Ottoman player had to storm each of these three towers (with the troops raising an Ottoman flag from each tower!) to win the game.

To storm a tower an Ottoman unit had to be in base to base contact with it. On the following turn a successful move activation would mean that a flag had been raised from the tower. Once taken a tower could be retaken by the Venetians in the same way as a unit never stayed in the tower. If at any time the Ottomans held all three then Modon had fallen!

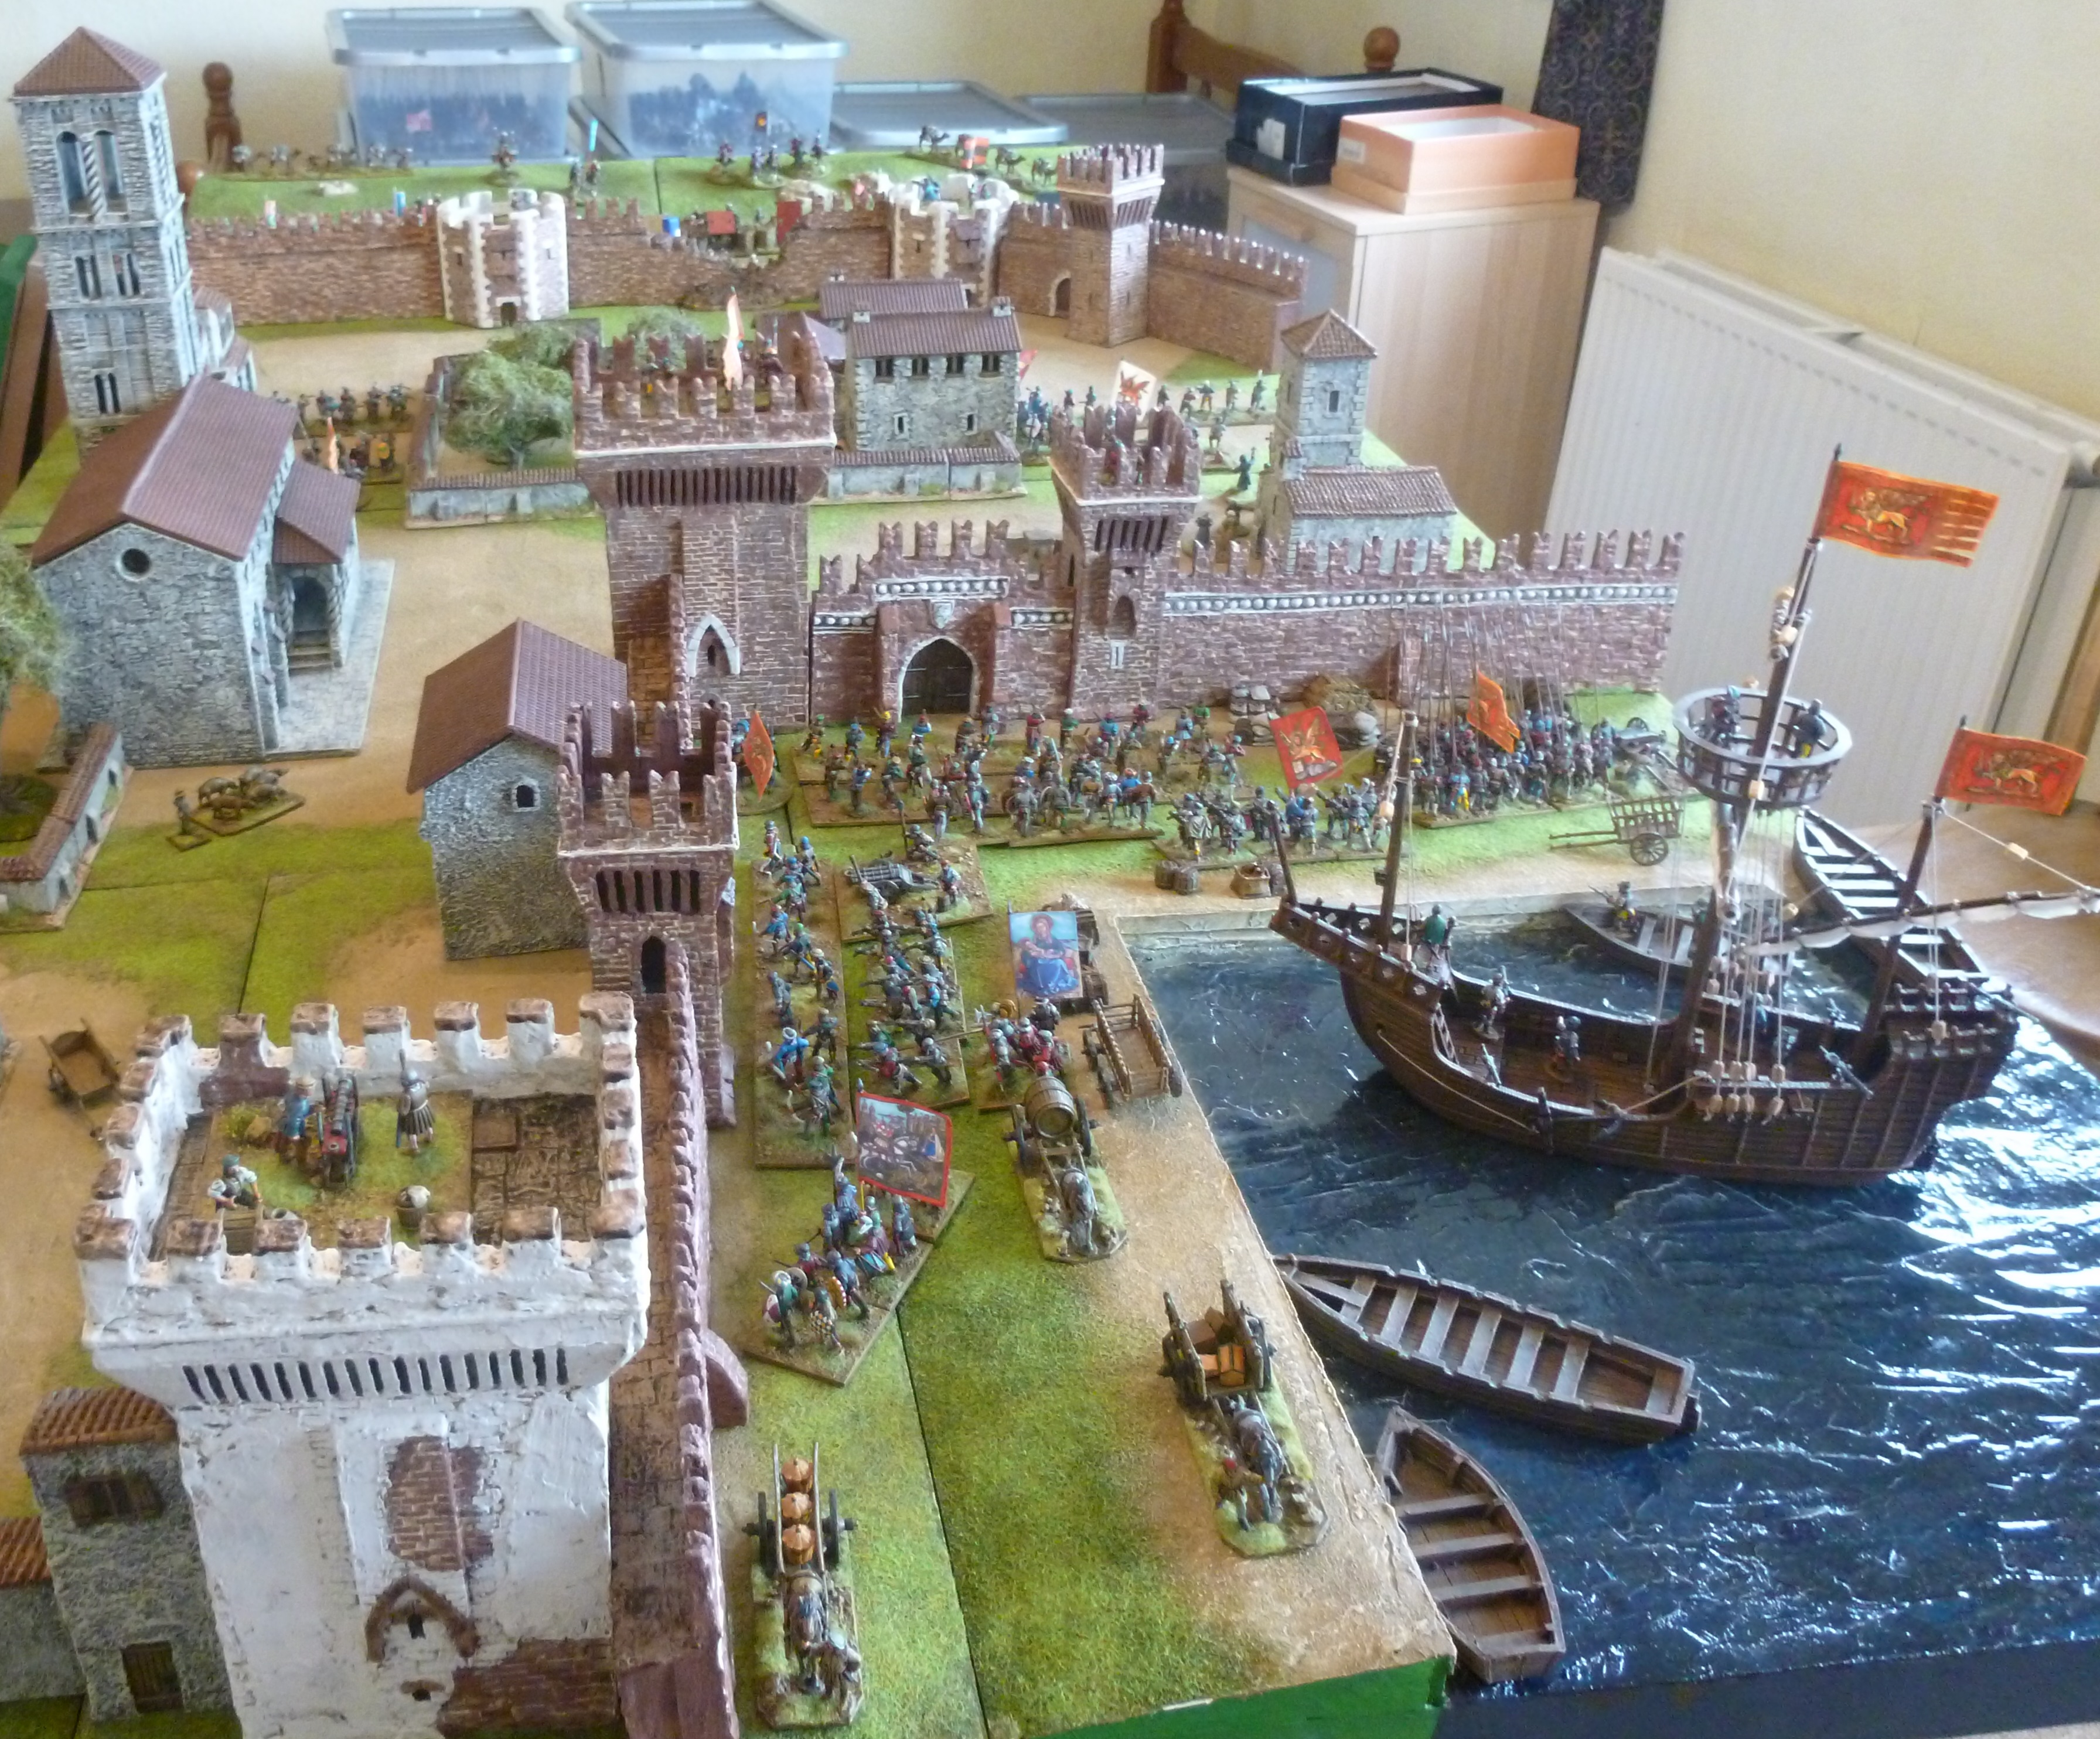
The table showing Modon's harbour where the retinue of Marco Gabriel is deployed. The Ottoman objectives are the tall church tower on the left, the large tower in the centre of the photo by the harbour gate and the large white tower, in the foreground to the left.

The other end of the table showing the Ottoman besiegers about to storm the walls.


A view of the table from above. To the left is the harbour with Marco Gabriel's Retinue. In the centre is the orchard (which would be the centre of the fighting in the game) around which is deployed Antonio Zantani's retinue. To the right are the Ottomans gathered in the ditch ready for the assault.

The Armies

Each army was divided into two separate retinues for the game. Tom took command of the Venetian defenders in the game whilst I took command of Bayezid II's besieging Ottomans.

The Venetian defenders of Modon

Marco Gabriel's retinue (deployed around the harbour)

2 Units of Foot Knights (one includes Marco Gabriel retinue leader)
2 Units of Italian Infantry
2 Units of Balkan archers
1 Unit of Italian Pike
1 Unit of Italian Arquebusiers
2 Units of Italian Crossbowmen
2 Organ Guns to assign to 2 of the above units

Antonio Zantani's retinue (deployed within Modon)

2 Units of Foot Knights (one includes Antonio Zantani retinue leader)
2 Units of Italian Infantry
2 Units of Italian Arquebusiers
3 Units of Italian Crossbowmen
2 Organ Guns to assign to 2 of the above units

The Ottomans

The Janissaries

1 Janissary Agha (retinue leader) 
2 Units of Zirhli Nefer
3 Units of Janissary Archers
1 Unit of Janissary Arquebusiers
4 Units of Janissary Infantry

The Azabs

1 Ottoman Captain (retinue leader and same rules as the Janissary Agha)
3 Units of Azab Archers
1 Unit of Azab Arquebusiers
4 Units of Azabs

As always the captions under the photos are a good way to follow the action but a brief summary follows.

The Ottoman army of Bayezid II

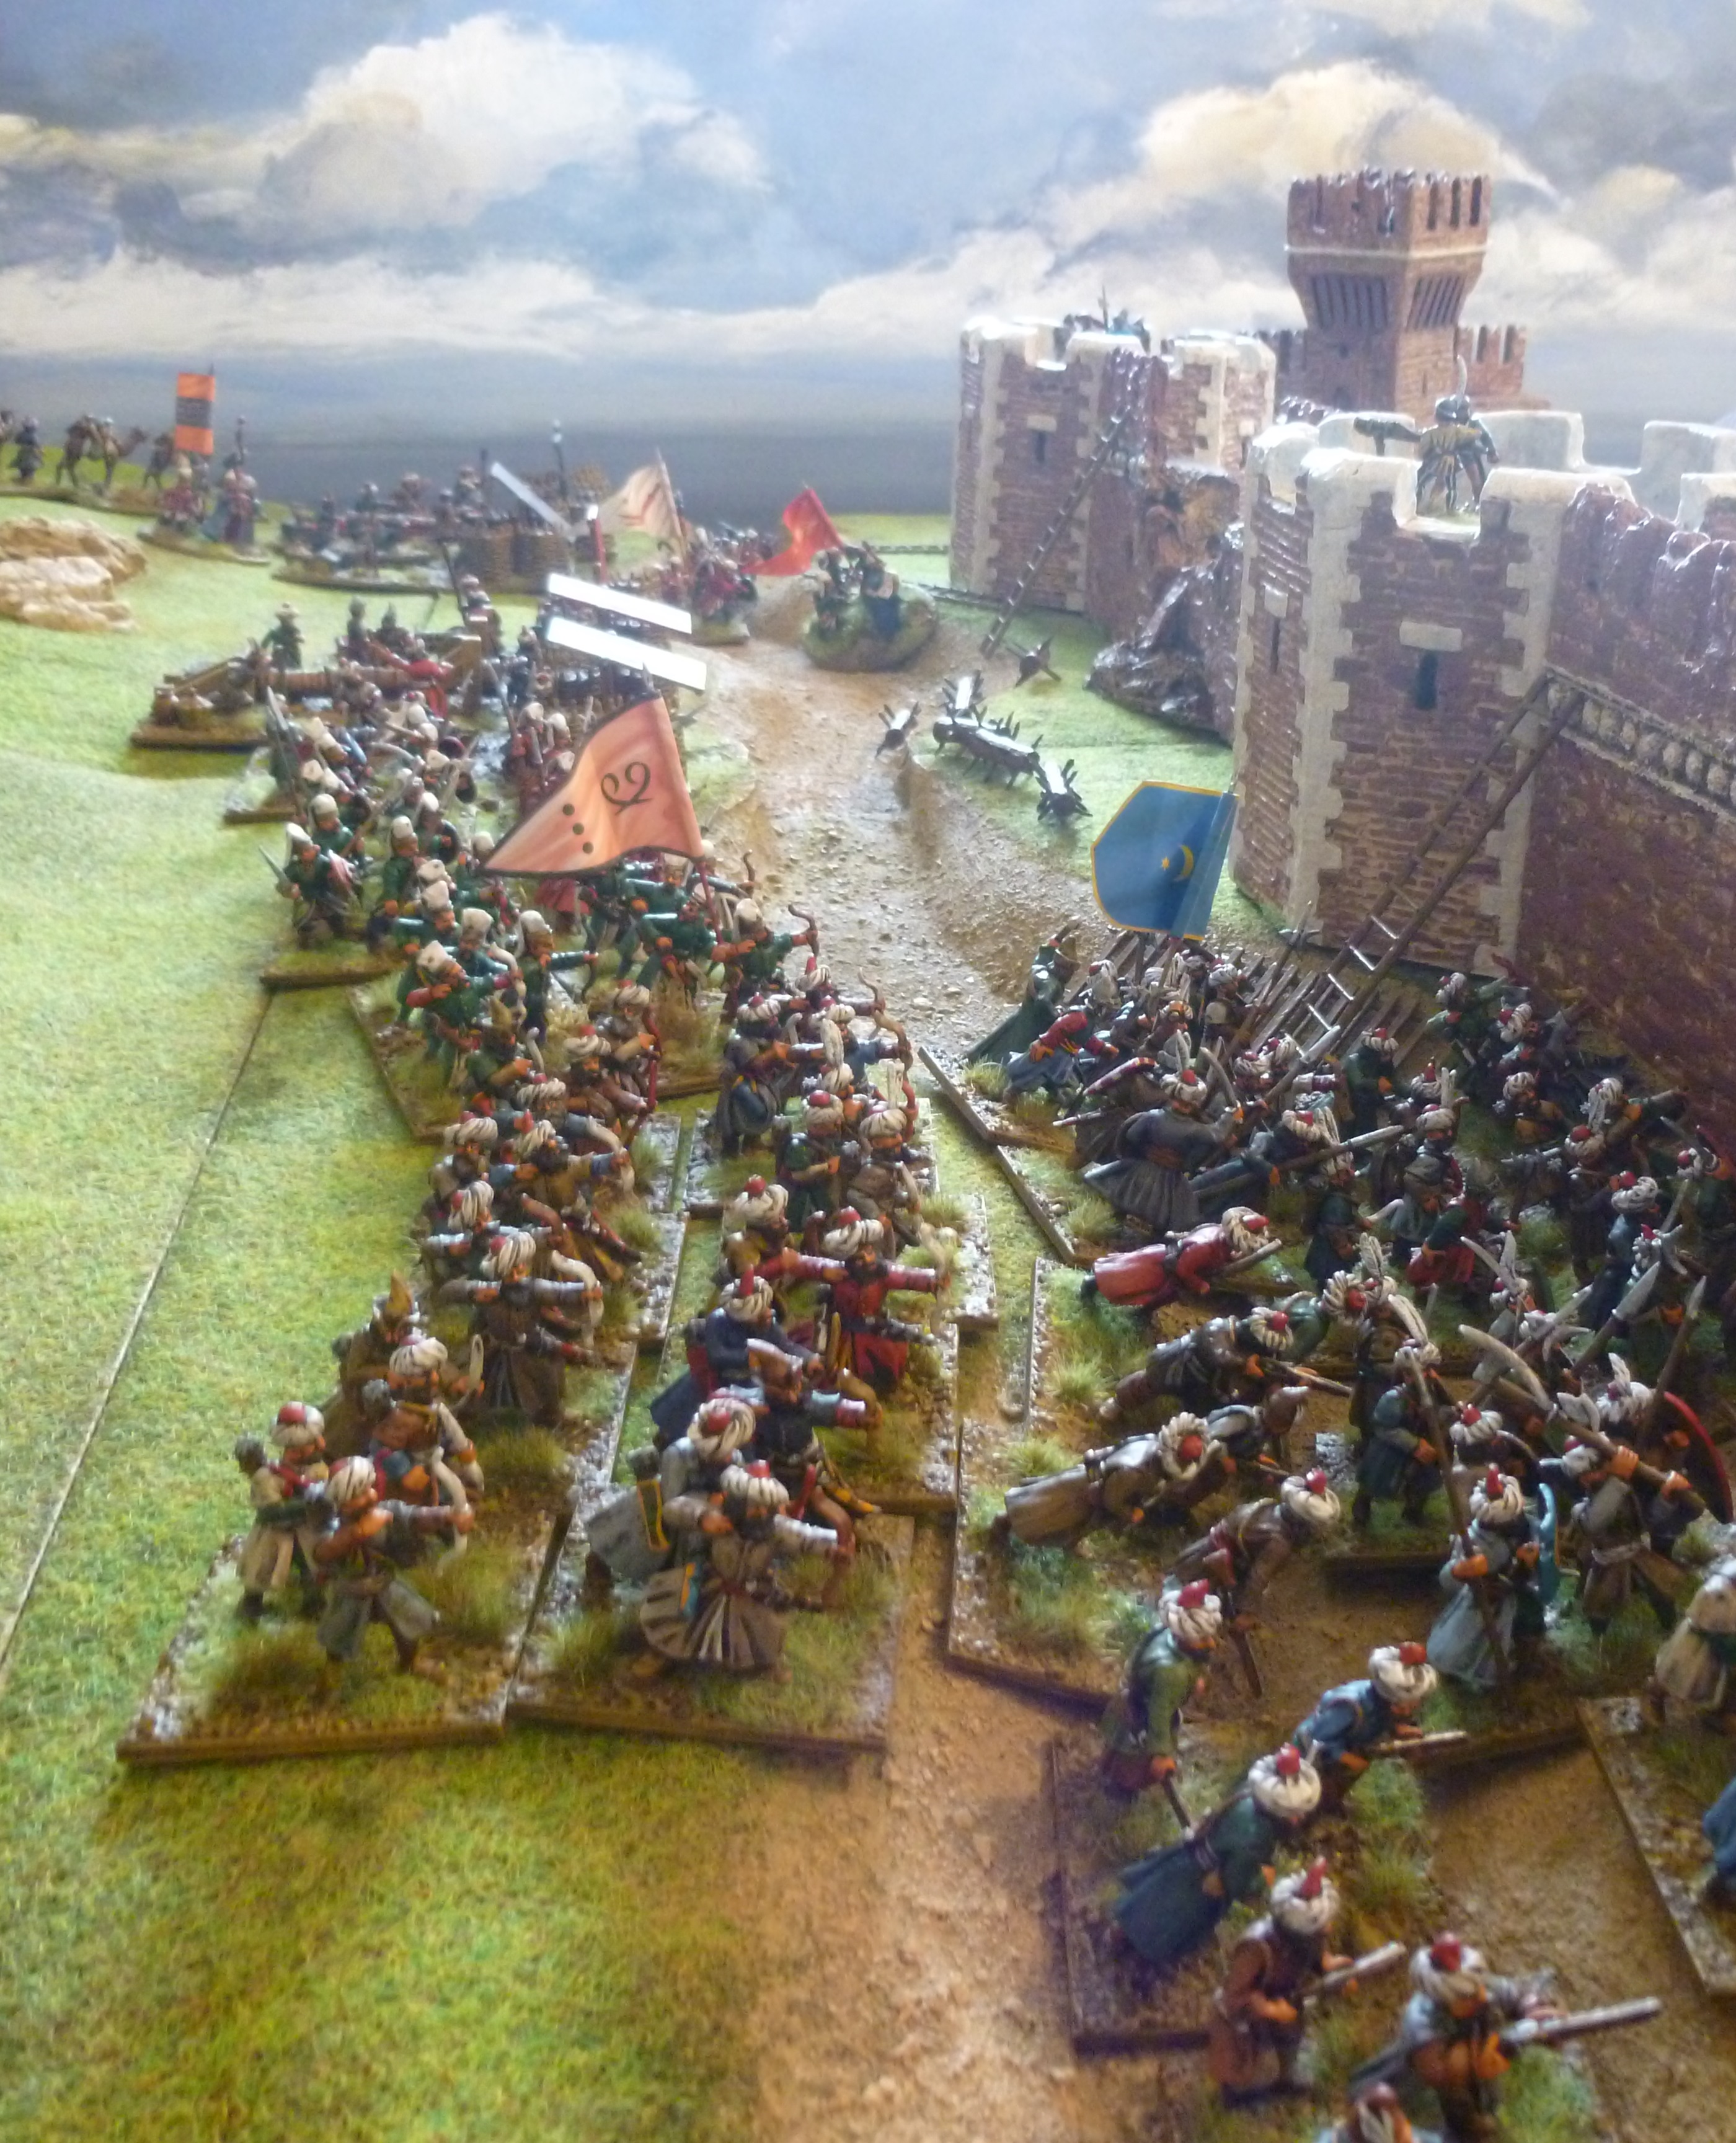
The Ottoman attackers. The janissaries will form the first wave of the attack supported by the azabs.

Venetian reinforcements disembarking in the harbour. 

The Venetian troops form up in the harbour ready to enter the town and defend it against the Ottomans.

Venetian arquebusiers and crossbowmen, supported by an organ gun, lie in wait within the orchard.

The assault begins and the zirhli nefer, the armoured janissary assault troops, lead the storming of the breach.

The janissaries begin to scale the walls of Modon.

The Venetian defenders under Antonio Zantani take up position around the orchard.

The assault on Modon looked to start well for the Ottomans with an initial wave of janissaries quickly getting over the walls or through the breach and into the streets. Whilst the Ottomans scaled the walls the Venetians around the harbour moved into the town to add support to their countrymen who were already inside and had taken up defensive positions. This first line of Venetian defence proved key as they were immediately able to pour shot and crossbow bolts into the janissaries forcing them to charge forward and attack whilst a large part of the Ottoman force was still outside Modon's walls.

The zirhli nefer assault troops and the janissary arquebusiers and archers accompanying them took heavy casualties as they pushed on and tried to gain control of the walled orchard just beyond the walls. The Venetians had hidden an organ gun behind the orchard gates which fired with deadly effect into the oncoming janissaries. The Ottomans needed to use their strength of numbers to sweep away the defenders in the orchard but the delay caused by clambering over the walls of Modon gave the Venetian defenders enough time to deal with the oncoming janissaries without being totally overwhelmed. 

With barely any Venetians left manning the breached walls the Ottomans are quickly into the beleaguered town.

Venetian crossbowmen supported by infantry armed with polearms await the attack.

The azabs storm the walls.

The Ottoman flag is already flying from one of the gun towers but this is not one of the three objectives.

The zirhli nefer charge the orchard. They come under a hail of shot from the organ gun and defending arquebusiers.

A view from above the walls as the Ottoman assault spills into the town.

The zirhli nefer supported by janissary arquebusiers 

Janissaries charge into the town but they are already taking heavy casualties.

Venetian troops enter Modon via the harbour gate.

The walls have fallen but the Venetian defenders still hold the town.

Venetian crossbowmen face the attacking Ottomans.

A view across the town as the Ottomans charge into Modon.

As the Ottomans surge into Modon many of them are still outside the town and yet to scale the walls or climb through the breach.

A unit of armoured janissaries crashes into some Venetian skirmishers. The Venetian light infantry are sent back in disarray.

A bloody battle has developed around the orchard. Facing a storm of bolts and arquebus shot from the Venetians the janissaries seek temporary respite behind the orchard wall.

Marco Gabriel's men rush into the town to support Antonio Zantani's embattled infantry.

Having pushed back the venetian skirmishers the armoured janissaries are now coming under heavy fire. They are soon brought down and the attack falters.

The Venetians give ground in the orchard as more janissaries join the fray.

Mortar shots launched from Bayezid's siege lines came crashing into the Venetian colony. They did considerable damage to the forces of the Serene Republic but also managed to kill some Ottomans as shots landed around the orchard which had become the epicentre of the fighting. The Venetians and janissaries sent attacks back and forth as each side attempted to gain the advantage. The orchard walls were valuable cover for both sides with the orchard itself proving difficult to fight in. 

In front of the town's main church, on the Ottoman right flank it seemed as if progress was being made by the attackers. This was where the main weight of the assault fell as here the janissaries were backed up by swarms of azabs. They pushed forward and it looked as if they would reach the church on numerous occasions but the Venetian defences were too strong and although bitter melees broke out in the streets as the Venetians clashed with the janissaries and azabs the Ottoman attack was always just staggered enough to prevent a breakthrough.

The town house and orchard is the centre of a bitter struggle.

Azabs and janissaries enter the orchard. 

Antonio Zantani and what is left of his retinue form up around the church.

Azabs and crossbowmen clash in a fierce melee right in front of Modon's church.

Stradiot reinforcement's have managed to get into the town to support the Venetian defenders. Together with a unit of Venetian swordsmen they defeat the Janissary Agha, the morale of the attackers plummets.

The azab captain attempts to rally the attackers urging them to press on with the assault.

The constant rain of shot and arrows on the Ottomans began to take its toll. During the fight a unit of Stradiots had made it through the Turkish siege lines and into the beleaguered town. They skirmished with the janissaries until the janissary Agha attacked them and drove them back. The Agha was then attacked by Venetian swordsmen and slain in the street. This had a terrible effect on the Ottoman morale and caused many of the janissary units to flee back over the walls.

Antonio Zantani commanded the Venetians from the front and stood defiantly guarding the church doors. The captain of the azabs attempted to take up the reins and rally the faltering Ottoman army by leading an attack on Zantani but he was quickly slain in the attempt and the Turkish morale crumbled further. The damned orchard, or what was left of it, was finally in Ottoman hands but Modon most certainly wasn't and the assault had failed.

The church tower looks to be within reach, the Ottomans throw unit after unit at it in an attempt to raise the crescent flag over the town...

...but casualties are mounting and, reinforced by the men from the harbour, the Venetian defence is too formidable.

The azab captain is slain in a clash with Antonio Zantani.

Having suffered horrendous casualties the Ottomans have taken the orchard but Modon remains firmly in the hands of its Venetian defenders!

This game should have been titled "The Battle of the Orchard" as it became an endless back and forth over this small walled area! In command of the Ottomans it was as if I could never bring enough troops to bear at the right moment and instead just drip fed units into endless fighting around the walled garden. Tom did a great job of preventing his troops from getting too drawn into melees with the janissaries and instead held back just enough to keep them from overwhelming his troops.

The mortar rules were a lot of fun and when combining them with the urban nature of the fighting and the endless arrow and arquebus shooting it felt more like a World War Two game at some points! If we replayed the game I think we would certainly change the terrain set up so the orchard would not effectively block the main attack and force the Ottomans up narrow channels. It would also be interesting to make it more specifically a "night attack" and have rules reducing the effectiveness of ranged attacks due to the darkness.

The Ottomans may have failed to take even one of the three target towers but we had a lot of laughs ( and maybe a few moans on my part!) about the endless orchard fighting and it certainly made for an absorbing wargame. Being able to finally set the table up with the harbour, carrack and town walls was fantastic, it really felt as if I was leading the miniatures in a full scale storming of the walls. We already have some ideas for our next game, let's just hope it doesn't feature a walled orchard!